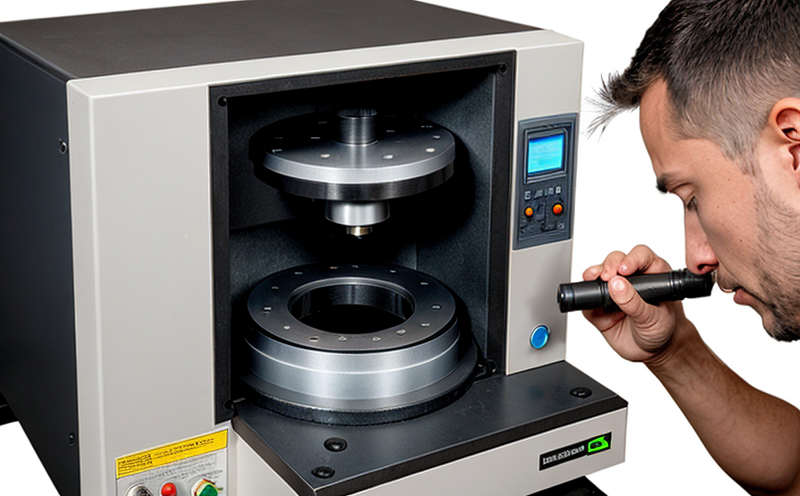
Microstructure & Metallography Testing
Microstructure and metallography testing is an essential part of ensuring product quality and reliability in additive manufacturing (AM) and 3D printing processes. This testing method examines the internal structure of materials, revealing grain size, phase distribution, defect formation, and other critical characteristics that can significantly impact material properties and performance.
Understanding these microscopic details helps manufacturers optimize their AM processes to achieve desired mechanical and functional properties. The testing process involves preparing samples through a series of steps: cleaning, etching, and imaging using advanced optical or scanning electron microscopy (SEM). Each step is crucial for obtaining accurate and reliable results.
The equipment used in this testing can vary widely depending on the specific requirements of the sample. Optical microscopes provide high-resolution images suitable for examining surface features, while SEMs offer deeper insights into internal structures at nanoscale levels. Automated etching techniques ensure consistent results by minimizing human error during specimen preparation.
Microstructure and metallography testing plays a pivotal role in ensuring compliance with international standards such as ISO 10356-2, which specifies guidelines for the interpretation of microstructures obtained from AM processes. By adhering to these standards, labs can ensure their findings are universally accepted across industries.
- Optical Microscopy
- Scanning Electron Microscopy (SEM)
- Automated Etching Techniques
- Compliance with ISO 10356-2
The significance of this testing cannot be overstated. It enables manufacturers to identify potential flaws early in the production cycle, thereby preventing costly rework or failures downstream. Additionally, it supports continuous improvement efforts by providing data-driven insights into process optimization.
For quality managers and compliance officers responsible for ensuring product integrity, microstructure and metallography testing offers a robust method to verify adherence to specifications. R&D engineers benefit from this service as they can refine their designs based on detailed structural analyses. Procurement professionals also find value in this testing since it ensures incoming materials meet required standards before being integrated into larger assemblies.
Why Choose This Test
Selecting microstructure and metallography testing is advantageous for several reasons. Firstly, it provides invaluable insights into the internal structure of materials used in AM processes. These insights are crucial for understanding how different parameters influence material properties such as strength, ductility, and fatigue resistance.
Secondly, this test enhances product reliability by identifying any hidden defects that might otherwise go undetected during visual inspections alone. By detecting these issues early on, manufacturers can address them promptly, reducing the risk of end-product failures.
Thirdly, compliance with international standards like ISO 10356-2 strengthens brand reputation and fosters trust among customers who prioritize quality assurance. This alignment also opens up market opportunities in regions where stringent regulations are enforced.
Lastly, this testing supports innovation by enabling ongoing improvements through iterative analysis cycles. Engineers can continuously refine their designs based on feedback from each round of testing, leading to superior products over time.
Quality and Reliability Assurance
In today’s competitive landscape, maintaining high levels of quality and reliability is paramount. Microstructure and metallography testing plays a vital role in achieving these goals by providing comprehensive assessments of material integrity.
During the testing process, specimens undergo rigorous examination under both optical microscopes and SEMs to capture detailed images of their internal structures. These examinations help identify any anomalies or inconsistencies that could compromise product performance. For instance, excessive grain growth or uneven distribution of phases can indicate poor processing conditions which may need adjustment.
Once identified, these issues are documented meticulously in reports along with recommendations for corrective actions if necessary. This documentation serves as a valuable resource not only for addressing current problems but also for preventing similar occurrences in future batches.
The consistent application of international standards ensures that all tests conducted meet industry benchmarks consistently. This consistency builds confidence among stakeholders including suppliers, regulators, and end-users alike.


