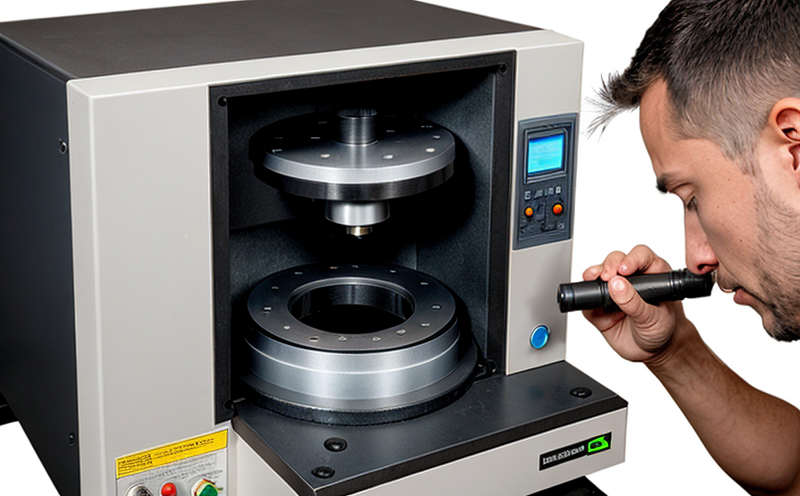
ASTM E1245 Determination of Inclusion Content by Image Analysis
The ASTM E1245 standard outlines a method for determining inclusion content in metallic materials using image analysis. This is critical for quality control and ensuring compliance with industry standards, particularly in sectors like aerospace, automotive, and manufacturing where material integrity directly impacts product performance and safety.
ASTM E1245 defines an inclusion as any foreign matter within the metal matrix that does not form part of the solid-solution strengthening phase. These inclusions can be non-metallic (such as oxides or sulfides) or metallic (like precipitates). The standard provides a detailed protocol for quantifying these inclusions through image analysis, which is particularly useful when dealing with complex microstructures where manual counting would be impractical.
The process begins with the preparation of an etched cross-section specimen. Etching highlights the inclusion boundaries making them more visible to optical microscopy. The etchant used can vary based on the type of metal but typically includes reagents like nitric acid and perchloric acid mixtures for stainless steel or aluminum alloys.
Once prepared, the specimen is imaged using a high-resolution digital camera attached to an optical microscope. Software then processes these images to identify and count inclusions according to predefined criteria such as size, shape, and intensity of contrast against the matrix. This automated approach not only enhances accuracy but also reduces subjectivity inherent in manual methods.
The ASTM E1245 procedure ensures consistent results by standardizing parameters like magnification level, lighting conditions, and image capture settings. It also specifies acceptable ranges for etchant concentration and dwell time to minimize variability between samples. Compliance with these guidelines is crucial for generating reliable data that can be used in quality assurance processes.
Understanding the distribution and type of inclusions provides valuable insights into processing conditions during manufacturing. For instance, high levels or specific types of non-metallic inclusions may indicate issues related to alloy purity or cooling rates which could affect mechanical properties like strength and ductility. By tracking inclusion content over time through repeated testing, manufacturers can identify trends indicative of process optimization needs.
For aerospace applications, where even small defects could lead to catastrophic failures, ASTM E1245 serves as an essential tool for maintaining stringent quality standards. In automotive manufacturing too, ensuring that materials meet specified inclusion limits helps prevent premature failure due to stress corrosion cracking or fatigue cracks initiated at inclusions.
When selecting a laboratory capable of performing ASTM E1245 tests, it is important to look for expertise not just in the application of the standard but also in interpreting results within broader context. A reputable service provider should offer comprehensive reports detailing both quantitative findings and qualitative observations about inclusion characteristics that might influence material performance.
| Inclusion Type | Description | Image Appearance |
|---|---|---|
| Non-Metallic Inclusions | Oxides, sulfides, carbonitrides | Distinctly lighter or darker regions compared to matrix |
| Metallic Inclusions | Precipitates formed during solidification | Slightly brighter areas indicating increased reflectivity |
Quality and Reliability Assurance
The ASTM E1245 method plays a pivotal role in quality assurance by providing objective data on inclusion content which can be used to assess material quality. This information is vital for ensuring that products comply with relevant specifications set forth by governing bodies like ISO, ASME, or similar organizations.
By regularly testing materials according to ASTM E1245, companies can monitor changes in their production processes and detect any deviations from desired outcomes early on. This proactive approach allows them to address potential issues before they become critical problems leading to costly rework or recalls.
In terms of reliability assurance, knowing the exact distribution and type of inclusions helps predict how a material will perform under various conditions. For example, certain types of non-metallic inclusions are more prone to causing cracks than others, so identifying these early allows for targeted improvements aimed at enhancing overall product durability.
From an R&D perspective, ASTM E1245 serves as a valuable tool for developing new alloys or refining existing ones. Researchers can use the results of these tests to fine-tune alloy compositions and processing parameters in ways that optimize material properties without compromising on necessary inclusion limits.
International Acceptance and Recognition
The ASTM E1245 standard has gained widespread acceptance across numerous industries worldwide due to its rigorous methodology and proven reliability. Many international standards organizations, including ISO, IEC, and ASME, reference ASTM E1245 as a basis for their own guidelines related to metallic materials.
Companies operating globally benefit greatly from using ASTM E1245 because it ensures that they are meeting global quality expectations regardless of location. This consistency across borders simplifies compliance processes for multinational enterprises and fosters trust among trading partners who rely on standardized testing methods.
Besides industrial applications, ASTM E1245 is also recognized by regulatory authorities in various countries when certifying materials used in critical infrastructure projects such as bridges or power plants. Its universal applicability makes it an indispensable part of the quality assurance toolkit for any organization dealing with metallic components.


