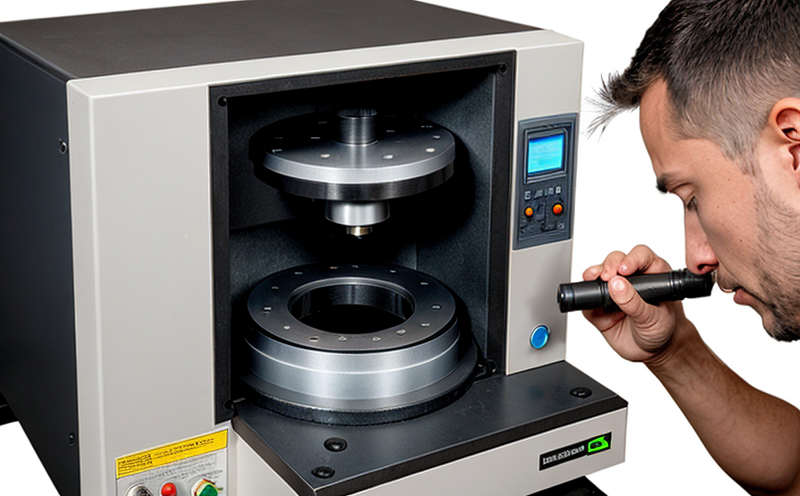
ISO 3057 Microscopic Examination after Fracture Testing
The ISO 3057 standard specifies a microscopic examination technique used to evaluate the microstructure of materials following fracture testing. This method is crucial for understanding the mechanisms that lead to material failure and assessing the quality and integrity of the material under scrutiny.
During this process, specimens are carefully prepared according to the guidelines set forth in ISO 3057. Specimens may include metals, alloys, or other materials subjected to fracture testing. The preparation involves cleaning, etching, and sometimes polishing the fractured surfaces to ensure a clear view of the microstructure under microscopic examination.
The microscope used for this examination is typically a scanning electron microscope (SEM) or a transmission electron microscope (TEM). These advanced instruments provide high-resolution images that allow detailed analysis of grain structures, precipitates, inclusions, and other features relevant to material failure. The etching process enhances the contrast between different phases within the material, making it easier to observe these features.
The examination is performed at low magnifications initially, allowing an overview of the fracture zone. This step helps identify any gross irregularities or anomalies that might indicate specific failure modes such as brittle fracture, ductile fracture, or intergranular cracking. High magnification images are then captured for a more detailed analysis.
The primary focus during this examination is on identifying microstructural features indicative of the type of failure experienced by the material. For instance, if a brittle fracture is suspected, the presence of sharp edges and a lack of dimple formation would be noted. Conversely, in cases of ductile fracture, the presence of dimples and elongated voids are key indicators.
The results from this examination can provide valuable insights into the root causes of material failure. This information is critical for quality managers and compliance officers to make informed decisions about process improvements or changes in material specifications. For R&D engineers, these findings can guide further research into developing more robust materials. Procurement teams benefit by using this data to select suppliers who adhere to higher standards.
The examination also helps ensure that the material meets the stringent requirements set by industry standards and regulations. Compliance with international standards such as ISO 3057 is essential for maintaining a reputable reputation in the market, ensuring product quality, and avoiding legal issues related to non-compliance.
In summary, ISO 3057 microscopic examination after fracture testing plays a pivotal role in understanding material behavior under stress. It provides critical data that can lead to improvements in manufacturing processes, enhance product reliability, and ensure adherence to international standards.
Why It Matters
The importance of ISO 3057 microscopic examination after fracture testing cannot be overstated. This method is essential for several reasons:
Firstly, it aids in identifying the exact nature and location of failure within a material. Understanding these details allows engineers to pinpoint specific areas that need improvement or replacement, leading to more efficient problem-solving.
Secondly, this examination helps prevent future failures by providing insights into potential weaknesses in materials or processes. By recognizing patterns of failure early on, companies can implement corrective measures before they lead to significant issues.
Thirdly, compliance with international standards like ISO 3057 ensures that products meet the highest quality and safety benchmarks. This not only enhances customer satisfaction but also protects against legal challenges associated with product failures.
In conclusion, performing this examination is not just a regulatory requirement; it’s an integral part of maintaining product integrity and ensuring long-term success in competitive markets.
Customer Impact and Satisfaction
The implementation of ISO 3057 microscopic examination after fracture testing has direct implications for customer satisfaction. Here are some ways it impacts customers:
Better Product Quality: By identifying flaws early in the manufacturing process, this method helps produce higher quality products that meet or exceed customer expectations.
Increased Safety: Ensuring material integrity through rigorous testing enhances safety for end-users of the products. This is particularly crucial in industries where product failure could lead to severe consequences.
Enhanced Reputation: Adhering to international standards like ISO 3057 can significantly enhance a company’s reputation, making it more attractive to potential clients and partners.
Competitive Edge: Superior quality control processes make companies more competitive in their respective markets. This is especially true in highly regulated industries where compliance with such standards is non-negotiable.
In essence, the impact of this examination extends beyond internal operations; it directly influences how customers perceive and interact with a company’s offerings.
Competitive Advantage and Market Impact
The adoption of ISO 3057 microscopic examination after fracture testing offers significant advantages in both domestic and international markets. Here’s why:
Improved Product Reliability: By consistently applying this method, companies can ensure that their products perform reliably under various conditions, thereby gaining a competitive edge.
Risk Mitigation: Identifying potential issues early through comprehensive testing minimizes risks associated with product failures. This reduces downtime and associated costs, contributing to overall profitability.
Enhanced Innovation: The insights gained from this examination can inspire new ideas and innovations in material science and engineering, driving continuous improvement within the organization.
Stronger Market Presence: Demonstrating commitment to quality through adherence to international standards like ISO 3057 can attract more customers and partners, thereby strengthening a company’s market position.
In the global marketplace, where competition is fierce, these advantages contribute significantly to a company’s success. By leveraging the power of this examination method, businesses can stay ahead of their competitors and maintain a strong foothold in the industry.


