ISO 643 Micrographic Determination of Ferritic or Austenitic Grain Size
The ISO 643 standard provides a method for determining the grain size in ferritic and austenitic steels using micrographic analysis. This test is crucial for quality assurance, material selection, and process optimization in industries such as aerospace, automotive, and manufacturing.
The procedure involves preparing metallographic specimens by grinding, polishing, and etching to reveal the grain structure. The grains are then examined under a microscope at specified magnifications (typically 100x and 500x). The grain size is determined based on comparison with reference standards provided in the ISO standard.
The significance of this test lies in its ability to assess the microstructure properties that directly influence mechanical, physical, and chemical behavior. For instance, finer grains enhance strength while promoting ductility in certain conditions. Understanding these parameters ensures that materials meet specific performance requirements for critical applications.
Industry standards such as ISO 643-1 (Grain size of ferritic and austenitic steels - Part 1: Visual method) and ISO 643-2 (Grain size of ferritic and austenitic steels - Part 2: Determination by linear intercept method) provide detailed guidelines on specimen preparation, evaluation techniques, and interpretation criteria.
| Aspect | Description |
|---|---|
| Microscope Magnification | 100x and 500x are commonly used for detailed analysis. |
| Grain Size Range | The method covers a wide range from very fine (6-8) to coarse grains (2-3). |
| Evaluation Criteria | Based on the comparison of grain boundaries with reference standards in ISO. |
The test results are typically reported as a numerical value representing the average grain size. This quantification is essential for comparing different samples or processes and ensuring compliance with design specifications.
For industries like aerospace, where material integrity is paramount, this method ensures that all components meet stringent quality standards. In automotive applications, it helps in optimizing performance while maintaining safety standards. Proper grain size control can lead to better fatigue resistance, wear properties, and overall product longevity.
Industry Applications
- Aerospace: Ensuring structural integrity of components like engine parts and airframes.
- Automotive: Optimizing materials for performance and durability in various vehicle systems.
- Manufacturing: Quality control to meet production standards and improve process efficiency.
In the aerospace sector, precise grain size measurement is vital for ensuring that structural components can withstand high stress conditions without failure. In automotive applications, this test helps in selecting materials that balance strength with ease of processing, thus enhancing overall vehicle performance and reliability.
For manufacturing, ISO 643 ensures consistent product quality by providing a standardized method to evaluate grain size. This consistency is crucial for industries where batch-to-batch uniformity is critical for maintaining high standards in production processes.
Eurolab Advantages
At Eurolab, we offer comprehensive micrographic determination services that adhere strictly to the ISO 643 standard. Our experienced technicians ensure accurate and reliable results through meticulous specimen preparation and rigorous evaluation techniques.
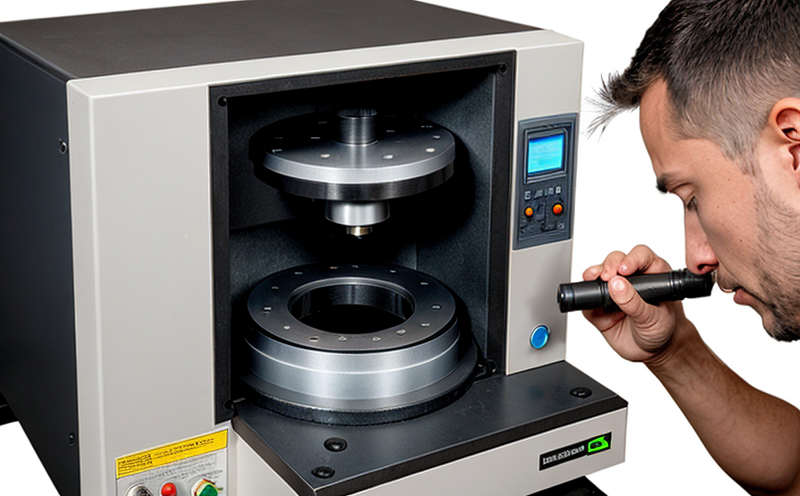
We leverage advanced metallurgical expertise and state-of-the-art equipment to deliver precise grain size determinations. Our laboratory is equipped with high-resolution microscopes capable of capturing detailed images at the required magnifications for ISO 643 compliance.
Our commitment to quality extends beyond just meeting standards; we also provide actionable insights based on our findings. This allows our clients to make informed decisions regarding material selection and process optimization, thereby enhancing product performance and reliability.
We pride ourselves on offering personalized service tailored to each client's specific needs. Our dedicated team works closely with you from initial consultation through final report delivery, ensuring a seamless experience at every step of the testing process.
Quality and Reliability Assurance
The ISO 643 method is widely recognized for its accuracy and reliability in determining grain size in ferritic and austenitic steels. By adhering strictly to this standard, we ensure that all our test results are consistent with international best practices.
This consistency not only builds trust among clients but also facilitates easier collaboration within the supply chain. When suppliers and buyers use a universally accepted method like ISO 643, it simplifies quality assurance processes and reduces potential disputes over material specifications.
Our laboratory’s adherence to this standard is further enhanced by our strict calibration protocols for all microscopes and other testing equipment. Regular maintenance and calibration ensure that every measurement aligns with the latest technological advancements and best practices.


