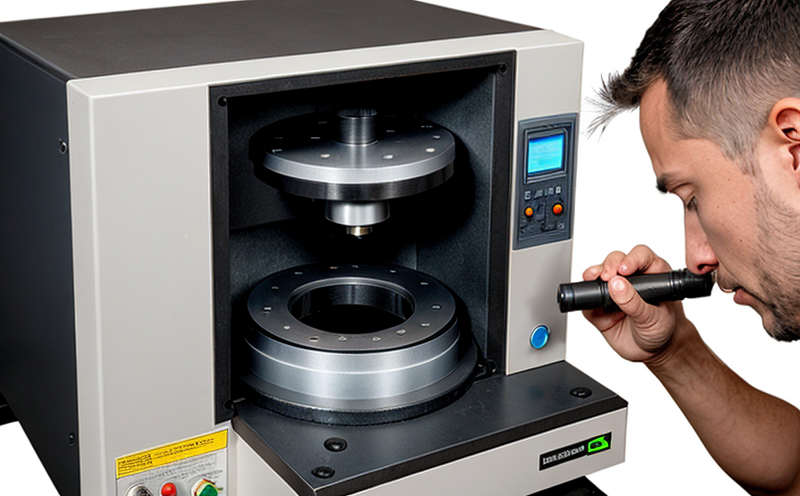
ASTM E112 Grain Size Measurement of AM Metals by Metallography
The ASTM E112 standard provides a universally recognized method for determining grain size in metals and alloys using metallographic techniques. This service specifically focuses on the application of ASTM E112 to the field of Additive Manufacturing (AM) materials, where precise control over microstructure is critical for optimizing performance and ensuring reliability.
In additive manufacturing, the process parameters such as laser power, scanning speed, layer thickness, and cooling rate significantly influence the grain structure of the final part. Accurate measurement of grain size helps quality managers and R&D engineers ensure that parts meet the desired mechanical properties and comply with industry standards. By adhering to ASTM E112, manufacturers can achieve consistent results across different batches and machines.
The process begins with careful preparation of the metallographic specimen. This involves cutting a representative sample from the manufactured part, followed by polishing and etching to reveal the microstructure details. The choice of etchant is crucial as it affects both the visibility of grain boundaries and the accuracy of measurements. Commonly used etchants for stainless steel include nital (nitric acid + alcohol) or picral (perchloric acid + alcohol).
The prepared sample is then examined under a metallographic microscope, typically equipped with polarized light to enhance contrast between grains. The examiner must ensure that the field of view includes an area representative of the overall microstructure without any artifacts introduced during preparation. Once the image is captured, it undergoes analysis according to ASTM E112 criteria.
The standard specifies a series of grids superimposed on the grain structure photograph, allowing for systematic counting and classification of grains into different size categories based on their area relative to predefined reference circles. This method ensures consistency in grading across multiple observers and laboratories, which is essential for regulatory compliance and interlaboratory comparisons.
After completing the visual assessment according to ASTM E112, the grain size is reported using a lettered scale ranging from 1 (finest) to 8 (coarsest). This numerical value provides valuable insights into the microstructural characteristics of the AM part and helps guide process optimization efforts. For instance, achieving smaller grains can lead to higher strength and ductility, while larger grains may be desired for certain applications requiring rapid heat transfer or thermal conductivity.
The precision and accuracy of ASTM E112 grain size measurements are further enhanced through advanced imaging techniques like digital image analysis software capable of automating the counting process. However, human judgment remains vital in interpreting complex microstructures that do not conform neatly to grid lines. This combination of manual skill and automated tools ensures robust and reliable results.
Understanding the grain size distribution within additive manufactured parts is paramount for ensuring consistent quality across production runs. Compliance with ASTM E112 standards not only facilitates internal process control but also supports external audits and certifications, thereby enhancing customer confidence in the reliability and performance of AM products.
Customer Impact and Satisfaction
- Enhanced Quality Control: Accurate grain size measurement improves product consistency by providing objective data on microstructure development during manufacturing.
- Regulatory Compliance: Adherence to ASTM E112 ensures that all testing aligns with internationally recognized standards, facilitating smoother interactions with regulatory bodies.
- Improved Process Optimization: Insights gained from grain size analysis enable manufacturers to fine-tune process parameters for better end-product performance.
- Increased Customer Trust: Consistent quality and adherence to industry benchmarks build trust between suppliers and customers, fostering long-term relationships.
International Acceptance and Recognition
The ASTM E112 standard for grain size measurement enjoys widespread acceptance globally due to its rigorous methodology and consistent results. It is widely adopted in industries ranging from aerospace to automotive, where precise control over material properties is paramount.
Many countries have incorporated ASTM E112 into their national standards or guidelines, recognizing it as a key metric for evaluating the quality of metals and alloys used in various applications. For instance, ISO 4968:2017 incorporates aspects of ASTM E112, reflecting the global consensus on this approach.
International laboratories engaged in AM research and development often use ASTM E112 as a benchmark for comparing grain size distributions across different materials and manufacturing processes. This standardization fosters collaboration among researchers worldwide, enabling them to share knowledge and best practices effectively.
Compliance with ASTM E112 also enhances the exportability of products from one country to another by ensuring that they meet stringent international quality requirements. This is particularly important for AM parts intended for use in global markets where compliance with multiple standards might be necessary.
Use Cases and Application Examples
| Application Example | Description | ASTM E112 Criteria Met |
|---|---|---|
| Additive Manufacturing of Tool Steel Dies | Ensuring optimal grain size in tool steel used for die casting molds enhances their durability and resistance to wear. | Grain counting and classification according to ASTM E112 criteria ensure uniformity across all dies produced using AM techniques. |
| Aerospace Components Using Nickel-Based Superalloys | Accurate grain size assessment is crucial for maintaining the high strength-to-weight ratio required in lightweight components like turbine blades. | The ASTM E112 standard guarantees consistent results when evaluating the microstructure of these critical parts. |
| Medical Implants Fabricated from Titanium Alloys | Smaller grains improve the biocompatibility and corrosion resistance of titanium implants, making them safer for human use. | ASTM E112 provides a reliable method for quantifying grain size in these complex alloys. |
| Automotive Engine Blocks Produced via Laser Beam Melting | Optimizing the grain structure minimizes internal stress and improves fatigue life of engine components, contributing to vehicle reliability. | The ASTM E112 standard ensures that grain size measurements are accurate and reproducible across all engine blocks manufactured using AM processes. |
| Electronics Packaging Using Copper Alloys | Precise control over the grain size in copper-based alloys used for wiring harnesses improves electrical conductivity and thermal management capabilities. | The ASTM E112 criteria provide a standardized approach to measuring and reporting grain sizes, ensuring consistent quality throughout production runs. |


