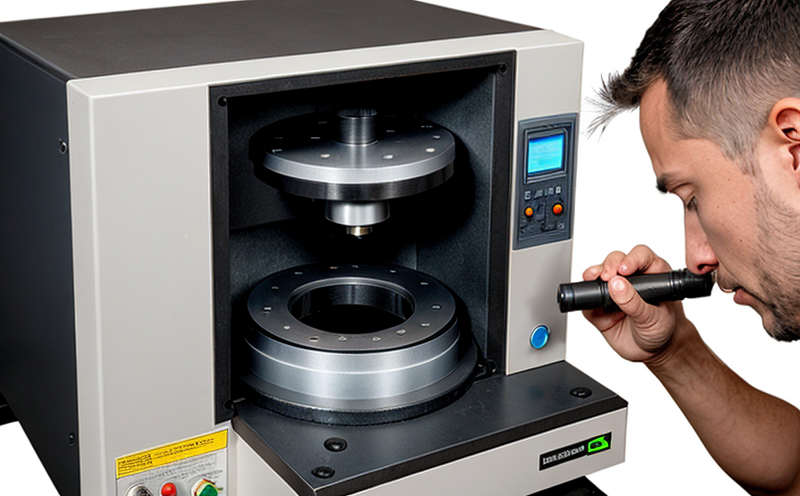
ISO 4491 Metallographic Testing of Sintered Metal Powders
The ISO 4491 standard provides a comprehensive framework for evaluating the microstructure and metallography of sintered metal powders. This critical testing is essential in ensuring consistent quality, material performance, and compliance with industry standards, particularly within sectors like aerospace, automotive, and defense. Microstructural analysis allows manufacturers to assess grain size, morphology, and phase distribution, which are key factors influencing the mechanical properties of a material.
During ISO 4491 testing, metallographic specimens are prepared by grinding, polishing, etching, and imaging using optical microscopes or scanning electron microscopy (SEM). The process involves several critical steps to ensure accuracy:
- Specimen Preparation: The sintered powder specimen is carefully sectioned into thin slices for examination. This step ensures that the microstructure can be analyzed without distortion.
- Etching: An etchant solution, typically a mixture of nitric acid and chromium trioxide (CrO₃), is applied to reveal grain boundaries. The choice of etchant depends on the alloy being tested, as different metals require specific formulations for accurate visualization.
- Optical or SEM Imaging: High-resolution images are captured using an optical microscope or a scanning electron microscope. Advanced software can be used to analyze crystallographic orientation and grain size distribution.
The primary goal of this testing is to ensure that the sintered metal powders meet specified performance criteria, such as strength, ductility, and resistance to wear. These properties are directly influenced by the microstructure characteristics identified during testing. For instance, a finer grain structure generally results in higher tensile strength but may reduce ductility.
ISO 4491 tests are particularly important for industries that rely on advanced materials for critical components. By adhering to this standard, manufacturers can ensure that their products meet stringent quality control requirements and perform reliably under various conditions. This testing also aids in process optimization by identifying any deviations from expected microstructural characteristics.
Why It Matters
The importance of ISO 4491 metallographic testing cannot be overstated, especially within sectors like aerospace and automotive manufacturing where the integrity of materials is paramount. Microstructure plays a crucial role in determining the mechanical properties of sintered metal powders, which are often used to produce complex parts through additive manufacturing processes.
For instance, in the aerospace industry, the strength and durability of components made from sintered alloys directly affect aircraft safety and performance. Ensuring that these materials meet rigorous standards is critical for preventing failures that could lead to catastrophic incidents. Similarly, automotive manufacturers rely on consistent material quality to ensure the longevity and reliability of their vehicles.
In addition to ensuring compliance with international standards, ISO 4491 testing supports research and development efforts aimed at improving material performance. By providing detailed insights into microstructural characteristics, this testing helps engineers refine processing techniques and develop new alloys that meet evolving industry demands.
Scope and Methodology
The scope of ISO 4491 metallographic testing includes the evaluation of various aspects of sintered metal powders, such as grain size distribution, phase constitution, and microstructural features. The methodology involves several key steps:
- Sample Selection: Representative samples are selected based on their intended use in production processes.
- Preparation: Samples undergo grinding, polishing, and etching to expose the microstructure for examination.
- Imaging: High-resolution images are captured using optical or scanning electron microscopy. Advanced software tools can be employed for detailed analysis of grain boundaries and crystallographic orientations.
- Evaluation: The microstructural features are evaluated against established criteria, ensuring compliance with ISO 4491 standards.
The testing process is critical for verifying that sintered metal powders meet the required specifications. This includes checking grain size distribution and phase composition to ensure consistent material properties across different batches or production runs. Compliance with these standards not only enhances product quality but also supports regulatory compliance, thereby reducing the risk of non-conforming materials reaching end-users.


