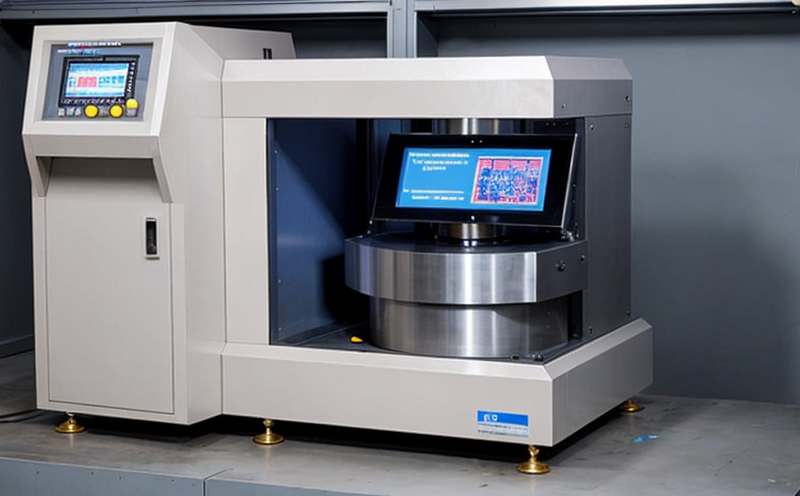
ISO 12181 Cylindricity Measurement Testing
The ISO 12181 standard provides a method for determining cylindricity error, which is critical in the additive manufacturing (AM) and 3D printing sectors. This measurement ensures that parts manufactured using AM technologies meet dimensional accuracy requirements as defined by international standards.
Cylindricity refers to the circularity of a cylindrical surface along its entire length. It is an important parameter for ensuring part integrity, especially in sectors like automotive, aerospace, and medical devices where precision is paramount. The ISO 12181 standard specifies how to measure cylindricity using both tactile (contact) and non-contact methods.
For AM processes, the accuracy of the manufactured parts can be significantly influenced by multiple factors such as layer thickness, build orientation, and post-processing techniques. Cylindricity is one of the key parameters that need to be controlled during manufacturing to ensure the final part meets its design specifications. By adhering to ISO 12181 standards, manufacturers can ensure that their parts are within acceptable tolerance levels, thereby enhancing product reliability and safety.
The testing process involves first selecting an appropriate gage or sensor capable of measuring cylindricity according to ISO 12181. The gage should be calibrated regularly to ensure accuracy. Once the part has been manufactured, it is placed on the gage for measurement. The measurement procedure typically requires the part to rotate while the gage collects data points along the cylindrical surface.
The collected data is then analyzed using statistical methods to determine if the cylindricity error falls within acceptable limits as specified by ISO 12181. If the part fails to meet these standards, adjustments can be made in the manufacturing process to improve accuracy. This iterative approach ensures that parts produced through AM technologies are of high quality and consistent with design intent.
Given the complexity of AM processes, it is essential to perform regular cylindricity measurements throughout production runs to maintain control over dimensional precision. By doing so, manufacturers can identify potential issues early on and take corrective actions before they lead to defects in finished products.
In summary, ISO 12181 provides a robust framework for measuring cylindricity errors in cylindrical parts produced via AM processes. Adhering to this standard helps ensure that the manufactured components meet stringent dimensional accuracy requirements, which is crucial for maintaining product quality and safety across various industries.
Scope and Methodology
The scope of ISO 12181 encompasses cylindrical parts that are produced using AM technologies. The standard specifies methods for measuring cylindricity errors on these parts, focusing primarily on the use of tactile (contact) and non-contact gages.
- Tactile Gage: This method involves a stylus that follows the surface of the part while rotating it around its axis to capture data points. These points are then analyzed to determine cylindricity error.
- Non-Contact Gage: In this approach, a laser or similar technology is used to scan the cylindrical surface without making physical contact with the part. The resulting data is again analyzed for cylindricity errors.
The methodology outlined in ISO 12181 includes detailed instructions on how to prepare the part before measurement, set up the gage, and interpret results. It also provides guidelines for interpreting deviations from ideal cylindricity and determining whether they fall within acceptable tolerances based on industry-specific requirements.
Industry Applications
The application of ISO 12181 in additive manufacturing is particularly relevant due to the intricate geometries often produced by AM technologies. In sectors like automotive, aerospace, and medical devices, where precision is crucial, ensuring that parts meet strict cylindricity standards can prevent costly failures and enhance overall performance.
In automotive applications, cylindricity measurements help ensure that engine components such as pistons or camshafts operate smoothly within their respective cylinders. Any deviation from ideal cylindricity could lead to increased friction, reduced efficiency, or even failure under load. By adhering to ISO 12181 standards during manufacturing, automotive OEMs can guarantee that their engines meet stringent performance criteria.
Aerospace companies also rely heavily on AM technologies for producing parts like turbine blades and landing gear components. Here too, cylindricity plays a vital role in ensuring structural integrity and operational safety. A slight deviation from ideal cylindricity could compromise the strength of these critical components, potentially leading to catastrophic failures during flight.
In the medical device industry, cylindricity is essential for components such as stents or prosthetic joints. Any irregularities could affect blood flow through stents or reduce joint mobility and comfort. By using ISO 12181 compliant testing methods, manufacturers can ensure that their products meet rigorous quality standards.


