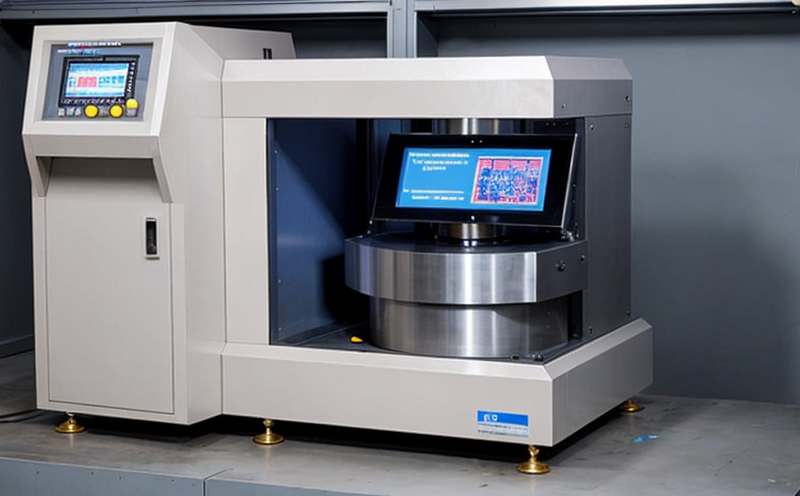
ISO 1101 GPS Tolerancing for Dimensional Accuracy Verification
The ISO 1101 method is widely recognized and applied in the field of manufacturing, particularly for verifying dimensional accuracy. The Geometrical Product Specifications (GPS) approach allows manufacturers to specify geometric tolerances that define the acceptable deviations from a perfect form or shape. In the context of Additive Manufacturing (AM) and 3D printing testing, this method is crucial as it ensures that the parts produced meet the exacting standards required by various industries.
The GPS method provides a robust framework for assessing whether manufactured components adhere to specified tolerances. These tolerances are defined using geometric primitives such as planes, lines, circles, cylinders, and spheres. By employing these primitives, designers can ensure that each part has the correct form, orientation, location, and size. The GPS approach is particularly beneficial in AM and 3D printing because it helps to identify deviations from the ideal shape early in the manufacturing process.
The ISO 1101 standard defines a set of rules for specifying geometric tolerances using a combination of alphanumeric codes. These codes provide precise instructions on how to measure and interpret the deviations between the actual part and its intended design. The GPS method is especially useful for complex parts with multiple dimensions that need to be checked simultaneously. By applying this method, manufacturers can ensure that their products meet not only functional requirements but also aesthetic ones.
One of the key benefits of using ISO 1101 in AM and 3D printing testing is its ability to catch errors early on. This allows for corrective actions to be taken before significant costs are incurred or product quality is compromised. Furthermore, the GPS approach can help to identify potential issues with the design or process itself, leading to improvements that enhance overall production efficiency.
To perform an ISO 1101 GPS tolerancing analysis, several steps must be followed. First, a set of geometric primitives must be defined based on the part's specifications. Next, these primitives are used to create a series of checks known as "rules." Each rule specifies how the part should be measured and what values would indicate compliance with the specified tolerances.
- Rule 1: Measure the diameter of the cylinder at various points along its length. Calculate the maximum deviation from the nominal value for each point.
- Rule 2: Check that all planes defining the part's surface are parallel to one another within the specified tolerance limits.
- Rule 3: Ensure that there is no significant angular displacement between two intersecting lines or surfaces.
Once these rules have been defined, they can be applied during the manufacturing process. If any deviations are found, adjustments can be made to correct them before proceeding further with production. This ensures that every part produced meets both functional and aesthetic requirements.
The ISO 1101 GPS tolerancing method is widely used across various industries due to its flexibility and precision. From automotive manufacturers ensuring precise fitment between components to aerospace firms guaranteeing structural integrity, this approach plays a crucial role in maintaining high standards throughout the supply chain.
Applied Standards
The GPS method is based on the ISO 1101 standard, which specifies how geometric tolerances should be defined and interpreted. This international standard ensures consistency across different manufacturers and locations by providing clear guidelines for specifying and checking dimensional accuracy.
In addition to ISO 1101, other relevant standards include:
- ASTM F42: This ASTM committee focuses on additive manufacturing processes and materials. It includes specific guidance on how to apply GPS methods in an AM context.
- EN 9100: For aerospace manufacturers, this standard ensures that quality management systems are implemented correctly, including the use of appropriate metrology techniques like ISO 1101.
- IEC TS 62384: This technical specification addresses electrical safety requirements for medical devices and their components. While not directly related to AM testing, it demonstrates the importance placed on precision in critical applications where dimensional accuracy is paramount.
These standards work together to provide a comprehensive framework that supports accurate measurement and verification of parts produced through 3D printing or other advanced manufacturing techniques.
Eurolab Advantages
At Eurolab, we pride ourselves on offering world-class testing services tailored specifically to meet the needs of our clients in the field of Additive Manufacturing and 3D printing. Our expertise lies not only in providing accurate measurements but also in interpreting those results within the context of ISO 1101 GPS tolerancing.
Our state-of-the-art facilities are equipped with high-precision metrology equipment capable of performing complex dimensional checks required by this standard. We employ highly trained professionals who understand both theoretical principles and practical applications, ensuring that every test conducted is reliable and repeatable.
We offer a range of services designed to support clients at all stages of product development from initial design through final inspection. From mock-up prototypes to full-scale production runs, we can help ensure your parts meet the highest standards of dimensional accuracy.
Our commitment to excellence extends beyond just meeting specified tolerances. We also work closely with clients to identify areas where improvements can be made, whether it's adjusting process parameters or revising design specifications. By doing so, we contribute towards creating more efficient workflows and reducing costs associated with rework or scrap material.
Furthermore, our ISO/IEC 17025 accreditation means that all tests conducted at Eurolab are performed to the highest scientific standards recognized globally. This ensures confidence in the results provided by our lab while also allowing us to collaborate effectively with regulatory bodies when necessary.


