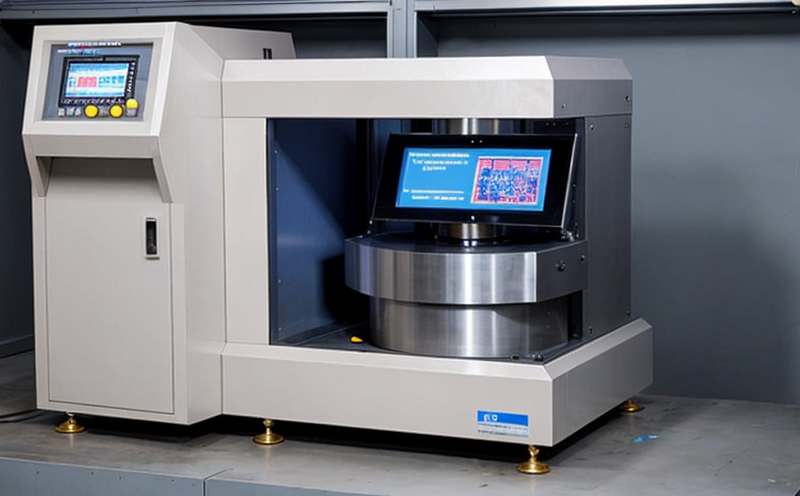
ISO 12180-2 Roundness Accuracy Testing
The ISO 12180 series of standards is a comprehensive set designed to address dimensional accuracy in additive manufacturing (AM) and 3D printing processes. Specifically, ISO 12180-2: Dimensional Metrology for AM Parts focuses on the roundness accuracy testing that ensures parts meet their specified tolerances and performance requirements.
Roundness is a critical parameter in determining the shape conformity of cylindrical or circular cross-sections. In metal additive manufacturing (AM), precision is paramount, as even minor deviations can lead to functional failure. The roundness test assesses how closely a part’s surface approximates an ideal theoretical form. This assessment is essential for ensuring that parts produced using AM technologies are fit for purpose.
The testing method involves the use of specialized metrology instruments capable of capturing detailed surface profiles with high precision. These devices employ non-contact laser scanning techniques to measure deviations from the ideal circular or cylindrical shape. The roundness error, expressed in micrometers (μm), is calculated based on these measurements and compared against acceptable tolerances defined by the part’s design specifications.
Accurate roundness testing ensures that parts will function correctly within their intended applications. For instance, a bearing race with incorrect roundness could lead to excessive friction or premature wear, while an improperly rounded piston may cause engine failure. In medical devices, such as stents, any deviation from the specified dimensions can have serious implications for patient safety.
Compliance with ISO standards is not only critical for ensuring product quality but also for meeting regulatory requirements and gaining market access in many countries around the world. The ISO 12180-2 standard provides a robust framework for testing roundness that can be trusted by all stakeholders involved in AM processes.
The testing process typically involves several steps, including:
- Specimen Preparation: The part to be tested is cleaned and inspected visually to ensure it meets basic quality criteria before undergoing metrology.
- Instrumentation Setup: A coordinate measuring machine (CMM) or laser scanner is calibrated and configured according to the specified test parameters. Calibration ensures that measurements are accurate and consistent with international standards.
- Data Collection: The part’s surface is scanned, and detailed point cloud data is generated. This data is then processed using software algorithms designed for roundness analysis.
- Analysis & Reporting: The collected data is analyzed to determine the roundness error. Reports are generated that provide a comprehensive overview of the test results, including graphs and tables comparing actual measurements against specified tolerances.
The ISO 12180-2 standard provides detailed guidance on how to perform these tests accurately and consistently. By adhering to this standard, manufacturers can ensure that their parts meet the highest quality standards and are fit for purpose in a wide range of industries.
| Use Case | Industry Application | Tolerance Range (μm) | Data Collection Method |
|---|---|---|---|
| Bearing Components | Machinery Manufacturing | <10 μm | Laser Scanning |
| Medical Stents | Medical Device Production | <5 μm | CMM Measurement |
| Fuel Injectors | Aerospace & Automotive | <20 μm | Coordinate Measuring Machine (CMM) |
| Piston Rings | Machinery Manufacturing | <5 μm | Laser Scanning |
In conclusion, ISO 12180-2 roundness accuracy testing is a vital component of ensuring the quality and reliability of parts produced through AM processes. By adhering to this standard, manufacturers can ensure that their products meet the highest quality standards and are fit for purpose in a wide range of industries.
Why It Matters
The importance of roundness accuracy testing cannot be overstated in ensuring the reliability and performance of parts produced through additive manufacturing. Inaccuracies in roundness can lead to functional failures, reduced component life, and potential safety hazards.
In industries such as aerospace, automotive, and medical device production, where precision is critical, any deviation from specified tolerances can have serious consequences. For example:
- Aerospace Industry: Incorrectly shaped components like bearings or fuel injectors could lead to engine failure or inefficient operation.
- Automotive Industry: A piston with incorrect roundness may cause excessive wear and tear, leading to premature engine failure.
- Medical Device Production: Any deviation from the specified dimensions of stents can have serious implications for patient safety.
In addition to ensuring product quality, compliance with ISO standards is essential for meeting regulatory requirements and gaining market access in many countries. The ISO 12180-2 standard provides a robust framework for testing roundness that can be trusted by all stakeholders involved in AM processes.
The roundness test ensures that parts produced using AM technologies meet their specified tolerances, ensuring they are fit for purpose and reliable. This is particularly important as the use of additive manufacturing continues to grow across various industries.
Why Choose This Test
The roundness accuracy test is an essential part of any quality control program in the additive manufacturing sector. It ensures that parts meet their specified tolerances and are fit for purpose. Here are some reasons why this test should be chosen:
- Ensures Quality Compliance: Adhering to ISO 12180-2 standards guarantees that the roundness of parts meets international quality benchmarks.
- Promotes Safety: Ensuring that components meet their specified tolerances can prevent functional failures and potential safety hazards.
- Maintains Consistency: The test ensures consistent results across multiple production runs, enhancing process reliability.
- Increases Product Reliability: By ensuring that parts are produced to the highest standards, the roundness test helps maintain product reliability and longevity.
- Facilitates Regulatory Compliance: Many countries have specific regulations regarding the dimensional accuracy of components. Adhering to ISO 12180-2 ensures compliance with these requirements.
- Enhances Market Reputation: Consistent quality control through roundness testing can enhance a company's reputation and market standing.
The roundness test is not only important for ensuring product quality but also for meeting regulatory requirements and gaining market access in many countries around the world. By adhering to this standard, manufacturers can ensure that their parts meet the highest quality standards and are fit for purpose in a wide range of industries.


