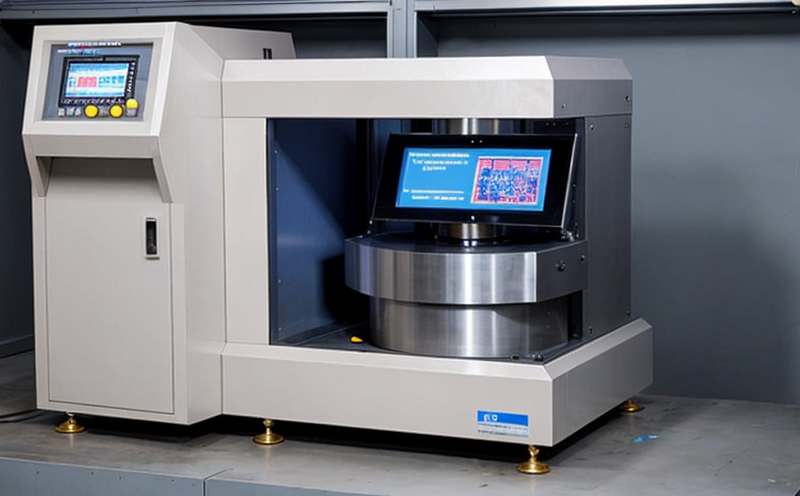
ISO 1101 Geometric Accuracy Testing for Additive Manufactured Parts
The ISO 1101 standard provides a set of geometric tolerances that are used to describe the shape, orientation, and position of individual features or surfaces within manufactured parts. This is particularly critical in the field of additive manufacturing (AM) where precision can significantly impact product performance. For AM parts, ensuring that dimensions meet specified tolerances is paramount for quality assurance and compliance with international standards.
Additive manufacturing involves building three-dimensional objects by adding layers of material incrementally. The process can be susceptible to various sources of error such as layer thickness variations, shrinkage, warpage, and residual stresses, all of which can affect the final part’s geometric accuracy. ISO 1101 testing helps to identify these discrepancies early in the manufacturing process.
During an ISO 1101 test for additive manufactured parts, various tolerances are measured including:
- Positional tolerances
- Parallelism and perpendicularity
- Circularity and cylindricity
- Flatness and straightness
- Taper and conicity
- Runout, total runout, and profile of a line or surface
The testing process typically involves the following steps:
- Specimen Preparation: The part is carefully prepared for measurement. This includes ensuring it has been fully cured if using photopolymers or other heat-sensitive materials.
- Instrumentation Selection: Depending on the complexity and material of the part, appropriate metrology tools are selected such as CMMs (Coordinate Measuring Machines), laser scanners, or optical comparators.
- Data Collection: The part is placed in the chosen measurement system and data points are collected. This may involve multiple scans to capture different sections of the part.
- Data Analysis: Collected data is compared against specified tolerances outlined in ISO 1101 standards. Any deviations from these tolerances can indicate issues with the AM process or material properties.
The results of this testing are crucial for ensuring that additive manufactured parts meet design specifications and regulatory requirements. This ensures not only compliance but also enhances reliability, safety, and performance in end-use applications.
| Industry Applications | Description |
|---|---|
| Aerospace | Ensuring that critical components like turbine blades and engine parts meet stringent dimensional requirements. |
| Medical Devices | Verifying the accuracy of implants, prosthetics, and surgical tools which require precise fit and function. |
| Automotive | Ensuring that parts like engine components or structural elements meet exacting tolerances to enhance performance and safety. |
By adhering to ISO 1101 standards, manufacturers can ensure that their additive manufactured parts are of the highest quality. This not only enhances product reliability but also facilitates smoother regulatory compliance processes.
Benefits
Implementing ISO 1101 geometric accuracy testing for additive manufactured parts offers numerous advantages:
- Enhanced Quality Assurance: Ensures that all parts meet the specified tolerances, thereby reducing rework and scrap rates.
- Better Compliance: Adherence to international standards ensures that products are compliant with regulatory requirements.
- Improved Product Reliability: Accurate parts lead to more reliable end-products which can enhance customer satisfaction and brand reputation.
- Faster Time-to-Market: By identifying issues early in the manufacturing process, ISO 1101 testing helps streamline production and reduce delays.
The use of this standard also supports innovation by providing a robust framework for quality control that can be adapted to new technologies and processes. This allows manufacturers to stay competitive in an ever-evolving industry landscape.
International Acceptance and Recognition
The ISO 1101 standard has gained widespread acceptance across various industries due to its robust framework for describing geometric tolerances. The following list highlights the international recognition of this standard:
- Aerospace Industry: NATO, FAA, EASA
- Automotive Industry: SAE International
- Medical Devices: FDA, European Commission
- Consumer Electronics: IEC and CEN
This broad acceptance underscores the reliability and consistency that ISO 1101 brings to geometric accuracy testing in additive manufacturing. Laboratories adhering to these standards ensure that their clients receive accurate, repeatable results globally.


