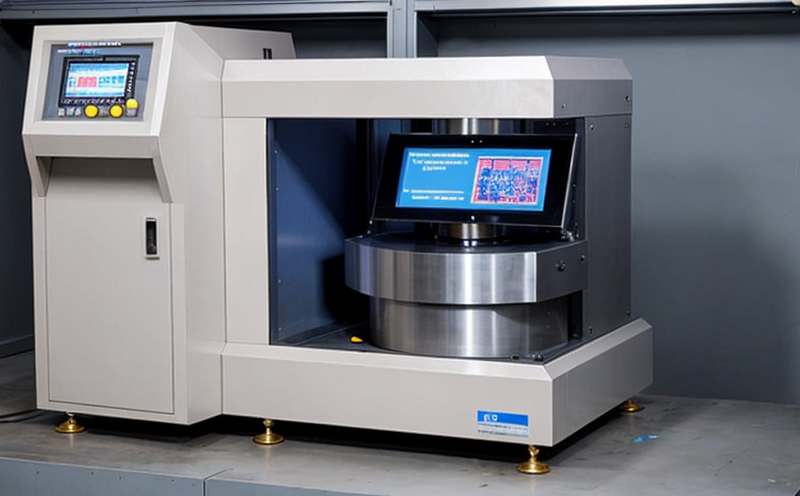
ASTM E2875 Photogrammetry Dimensional Accuracy Testing
The ASTM E2875 standard practice for photogrammetric dimensional accuracy testing of additively manufactured parts provides a robust framework for ensuring the dimensional integrity and quality of 3D-printed components. This method is particularly critical in sectors such as aerospace, automotive, medical devices, and consumer electronics where precision is paramount. The test procedure involves capturing high-resolution images using photogrammetry software and comparing these with CAD models to ensure that manufactured parts meet their specified dimensions.
The process begins with the preparation of the part for testing. Depending on the complexity of the geometry, this may involve cleaning the surface to eliminate any contaminants or residues that could affect the accuracy of the measurements. Next is the setup of the photogrammetry system, which typically includes a high-resolution camera and software capable of capturing multiple angles and points across the part's surface.
The testing itself involves several key steps: calibration of the photogrammetry equipment to ensure accurate measurement, positioning of the part in the field of view, and taking images from various angles. Once captured, these images are processed by specialized photogrammetry software that generates a 3D model of the part. This virtual model is then compared against the CAD design using statistical methods outlined in ASTM E2875 to calculate dimensional tolerances.
The acceptance criteria for this testing method vary depending on the application and criticality level of the part being manufactured. For instance, aerospace components may have stricter tolerances than consumer goods due to safety considerations. However, all tests follow the same rigorous procedure as specified in ASTM E2875. The results are typically reported with detailed metrics including average deviation, maximum error, and compliance or non-compliance with specified limits.
The importance of this testing cannot be overstated, especially given the growing reliance on additive manufacturing across industries. Ensuring dimensional accuracy not only enhances product performance but also supports regulatory compliance by meeting industry standards like ISO 5208-1 for precision measurement devices. By adhering to ASTM E2875, manufacturers can build confidence in their processes and deliver parts that meet exact specifications.
Why It Matters
The accuracy of dimensions in additively manufactured parts directly impacts the performance and reliability of products across various sectors. In aerospace, for example, even minor deviations could lead to catastrophic failures. Similarly, medical devices require precise geometry to ensure safe and effective operation without compromising patient safety.
From a broader perspective, ensuring dimensional accuracy through photogrammetry aligns with global standards aimed at enhancing quality assurance in manufacturing processes. Compliance with ASTM E2875 not only supports these goals but also fosters trust among end-users who rely on the integrity of manufactured parts.
The significance of this testing extends beyond mere compliance; it plays a crucial role in innovation and advancement within additive manufacturing technologies. By accurately measuring dimensions, manufacturers can identify areas for improvement and refine their processes to produce even more precise components.
Customer Impact and Satisfaction
Achieving high levels of dimensional accuracy through photogrammetry testing has a direct positive impact on customer satisfaction. When parts are manufactured precisely according to design specifications, they perform as intended, reducing the risk of failure or malfunction.
For customers in industries like aerospace, this means safer flights and more reliable aircraft systems. In medical devices, it translates into better patient outcomes and improved health care delivery. Additionally, meeting stringent dimensional standards enhances brand reputation by demonstrating commitment to quality control practices.
Customers who invest in photogrammetry testing can also expect faster go-to-market times as they eliminate the need for rework or scrap due to manufacturing errors. This efficiency translates into cost savings across supply chains and ultimately contributes to improved financial performance.
Use Cases and Application Examples
| Application Example | Description |
|---|---|
| Aerospace Engine Parts | Ensuring that turbine blades fit perfectly within their housings to prevent vibrations that could lead to catastrophic failures. |
| Medical Implants | Verifying the exact shape and size of implants to ensure they integrate seamlessly with human anatomy, reducing surgical complications. |
| Automotive Components | Checking that engine components like pistons or camshafts meet critical tolerances for optimal performance and longevity. |
| Consumer Electronics | Ensuring small electronic components such as connectors are fabricated accurately to maintain functionality without compromising size. |
| Military Equipment | Absolute precision in the manufacturing of parts like aircraft landing gear or missile components ensures mission success and safety. |
| Racing Sports | Guaranteeing that racing car components, such as suspension arms or brake calipers, are fabricated to exact specifications for optimal performance. |
| Educational Models | Capturing the precise dimensions of educational models used in schools and universities to enhance learning experiences. |
The use cases span a wide range of industries, from high-stakes environments like aerospace and military to everyday products in consumer electronics. In each case, photogrammetry testing ensures that additively manufactured parts are precisely as designed, thereby enhancing product reliability and safety.


