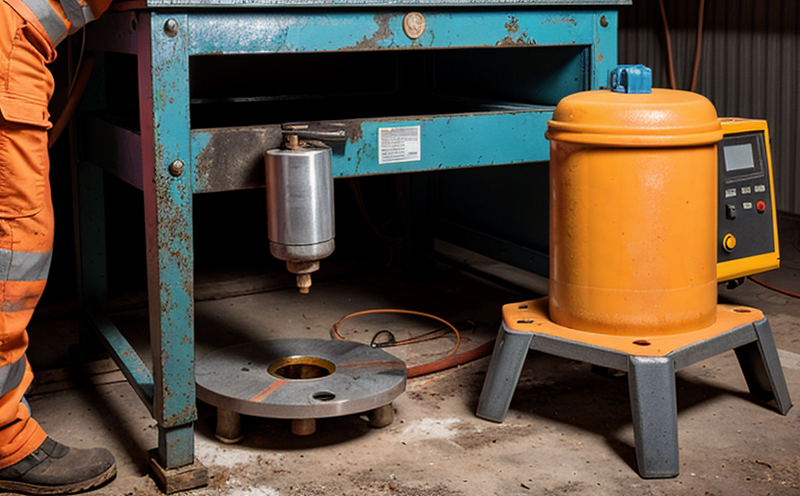
MIL-STD-1949 Radiographic Testing of Aerospace Welds
The MIL-STD-1949 specifies radiographic testing procedures for detecting flaws in welds and materials used in aerospace applications. This standard is particularly critical for ensuring the reliability and safety of welded components, which are integral to aircraft structures, engines, landing gear, and other high-stress parts. The test aims to identify imperfections such as cracks, porosity, lack of fusion, and incomplete penetration that can compromise structural integrity.
Under MIL-STD-1949, radiographic testing is performed using industrial radiography equipment, typically with X-rays or gamma rays. This method allows for nondestructive evaluation (NDE) without altering the component's original condition. The standard defines specific parameters to ensure that the test yields accurate and reliable results. Key variables include the type of radiation source, film processing conditions, and inspection techniques.
Preparation of specimens is critical before radiographic testing. Components must be cleaned thoroughly to remove contaminants such as oil, grease, or paint, which can interfere with image quality. The weld area should also be exposed without any obstructions that could block the radiation beam. Proper positioning of the component relative to the radiation source and film is essential for obtaining clear images.
The testing process involves irradiating the specimen from a known position using controlled exposure times. After exposure, the film or digital imaging plates are processed according to specified protocols. The resulting radiographs are then evaluated by trained technicians who look for signs of defects indicative of non-compliance with MIL-STD-1949 criteria.
MIL-STD-1949 specifies acceptance levels based on defect sizes and types, which vary depending on the component's criticality. For instance, cracks or large pores in high-stress areas are unacceptable under this standard due to their potential for failure during operational stress conditions. Compliance with these standards is mandatory for aerospace manufacturers and suppliers.
Using MIL-STD-1949 ensures that aerospace components meet stringent quality control requirements set by regulatory bodies like the Federal Aviation Administration (FAA) and European Union Aviation Safety Agency (EASA). This compliance enhances confidence in product safety, reduces risk of failure, and supports a robust supply chain.
For manufacturers adhering to MIL-STD-1949, radiographic testing is an indispensable tool for quality assurance. It helps prevent costly recalls and repairs by identifying potential flaws early in the production process. By leveraging this standard, companies can maintain their reputation for reliability and meet stringent regulatory requirements.
Applied Standards
| Standard | Description |
|---|---|
| MIL-STD-1949A | Aerospace industry standard for radiographic testing of welds. |
| ASTM E709 | Method for radiographic examination of castings and cast-alloy parts. |
| ASME Section V | Guidelines for non-destructive testing methods including radiography. |
MIL-STD-1949A is the primary standard governing radiographic examination of aerospace welds. It provides detailed procedures and acceptance criteria that ensure consistent results across different facilities. Additionally, ASTM E709 complements MIL-STD-1949 by offering more specific guidelines for castings and cast-alloy parts. ASME Section V further supports this process with comprehensive methodologies covering a wide range of non-destructive testing techniques.
Industry Applications
| Aerospace Component | Radiographic Testing Frequency |
|---|---|
| Welded fuselage structures | Once every 50,000 flight hours or per manufacturer's directive. |
| Engine turbine blades | Every 20,000 flight hours or after each overhaul. |
| Landing gear components | At least once every two years for critical parts. |
Radiographic testing of aerospace welds is widely applied across various sectors within the aviation industry. It plays a crucial role in ensuring structural integrity and operational safety. For example, fuselage structures undergo radiography to detect stress-corrosion cracking and fatigue-induced flaws. Engine turbine blades are frequently inspected for cracks that could lead to catastrophic failure during operation. Landing gear components also require periodic testing to guarantee safe landing procedures.
The frequency of testing depends on the component's criticality and usage conditions. Critical parts like those mentioned above may undergo more frequent inspections compared to less stressed elements. By adhering to these practices, aerospace manufacturers can comply with regulatory mandates while enhancing overall product quality.
Why Choose This Test
MIL-STD-1949 radiographic testing offers several advantages over other non-destructive evaluation methods when applied to aerospace welds. Its ability to visualize internal defects without altering the component's structure makes it particularly valuable for high-stress applications where even minute imperfections can have significant impacts.
One of the key benefits is its reliability in detecting various types of flaws, including cracks, porosity, and incomplete fusion. These defects are often difficult to identify through other means such as visual inspection alone. The test provides clear images that allow for precise evaluation by skilled technicians.
In addition to defect detection, radiographic testing supports process improvement by identifying areas where manufacturing processes need adjustments. This data-driven approach helps manufacturers optimize production methods, leading to more consistent and higher-quality products.
Compliance with MIL-STD-1949 also offers substantial benefits in terms of regulatory approval and market access. Meeting these standards ensures that aerospace components meet the stringent requirements set by aviation authorities worldwide, thereby facilitating smoother operations for companies involved in international trade.


