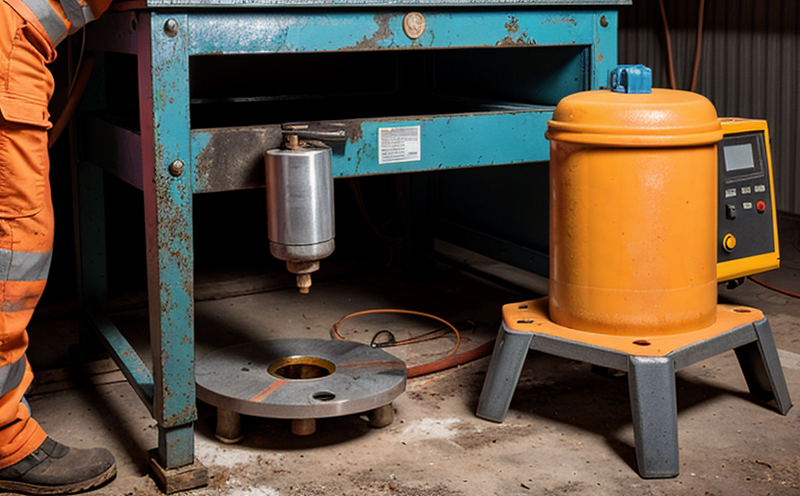
ISO 16811 Ultrasonic Testing of Welds
The ISO 16811 standard provides a comprehensive framework for ultrasonic testing (UT) of welds in aerospace and aviation. This method is crucial for ensuring the integrity and reliability of welded joints, which are fundamental to aircraft structures. The primary objective of this testing procedure is to identify any flaws or imperfections that could compromise the structural integrity of the weld.
The ISO 16811 standard specifies a range of ultrasonic testing methods suitable for various types of metals commonly used in aerospace and aviation, including aluminum alloys, titanium, nickel-based superalloys, and stainless steels. The procedure is designed to detect both surface and subsurface defects such as cracks, porosity, lack of fusion, and incomplete penetration.
The standard outlines the necessary equipment requirements, which include high-frequency ultrasonic probes, suitable coupling agents, and data acquisition systems capable of recording and analyzing ultrasonic signals. The testing process involves applying the probe to the weld surface, generating sound waves that penetrate the material, and interpreting the reflected signals to assess the presence and nature of any defects.
The ISO 16811 standard also provides guidelines for test preparation, including the cleaning and conditioning of the weld area. The specimen must be free from contaminants such as oil, grease, or dirt that could interfere with the ultrasonic signal. Additionally, the probe must be calibrated to ensure accurate measurements.
The acceptance criteria specified in ISO 16811 are critical for determining whether a weld passes or fails the test. The standard allows for some defects but sets thresholds beyond which a weld is deemed unacceptable. These criteria are based on the type of defect, its location within the weld, and its size relative to the cross-sectional area of the weld.
In aerospace and aviation applications, where safety is paramount, strict adherence to ISO 16811 ensures that only welds meeting these stringent standards are used. This not only enhances the overall quality of the aircraft but also contributes to the safety and reliability of the final product.
- High Reliability: Ensures consistent, reliable performance in critical applications.
- Compliance: Meets international standards ensuring regulatory compliance.
- Quality Assurance: Provides a robust framework for quality control and assurance.
- Safety: Minimizes the risk of structural failures in high-stress environments.
Scope and Methodology
The scope of ISO 16811 encompasses various aspects of ultrasonic testing, including the selection of probes, coupling agents, and data acquisition systems. The methodology involves several key steps:
- Preparation: Cleaning and conditioning the weld area to ensure accurate signal reception.
- Calibration: Ensuring that all testing equipment is properly calibrated for consistent results.
- Data Collection: Recording ultrasonic signals using appropriate sensors and software.
- Analysis: Interpreting the collected data to identify any defects or anomalies.
The standard also includes detailed instructions for generating and interpreting ultrasonic signals. This involves selecting the appropriate probe frequency, adjusting the coupling agent, and ensuring that the equipment is properly configured before testing begins. Once the test is complete, the data must be analyzed to determine whether any defects are present and their severity.
The acceptance criteria specified in ISO 16811 ensure that only welds meeting these stringent standards are used. This not only enhances the overall quality of the aircraft but also contributes to the safety and reliability of the final product. The standard allows for some defects but sets thresholds beyond which a weld is deemed unacceptable.
The testing process must be conducted by qualified personnel who have undergone training in ultrasonic testing techniques. The use of advanced software tools can help automate much of the data analysis, reducing human error and improving consistency.
Why Choose This Test
- Enhanced Safety: Identifies defects that could lead to catastrophic failures in critical components.
- Regulatory Compliance: Ensures adherence to international standards for aerospace and aviation manufacturing.
- Quality Assurance: Provides a robust framework for quality control and assurance.
- Risk Mitigation: Minimizes the risk of structural failures in high-stress environments.
- Cost-Effective: Early detection of defects reduces the need for costly rework or replacement.
- Consistency: Ensures consistent, reliable performance across multiple testing sessions.
Customer Impact and Satisfaction
The ISO 16811 ultrasonic testing of welds has a significant positive impact on customers, particularly those in the aerospace and aviation industries. By ensuring that only high-quality welds are used, this test enhances the overall safety and reliability of aircraft and spacecraft components.
Customers benefit from increased confidence in the quality of their products, which can lead to improved customer satisfaction and loyalty. This is especially important for companies with a reputation for producing safe and reliable equipment.
The use of this testing method also helps customers meet regulatory requirements and ensure compliance with international standards. This can reduce the risk of legal issues and improve the company's overall standing in the industry.
In addition, the ISO 16811 ultrasonic testing process is designed to be efficient and effective, minimizing downtime and reducing costs associated with rework or replacement. This can lead to significant savings for customers over time.
The test results are typically reported in a detailed format that includes information on the type of defect, its location within the weld, and its size relative to the cross-sectional area of the weld. This comprehensive reporting allows customers to make informed decisions about the quality of their products.


