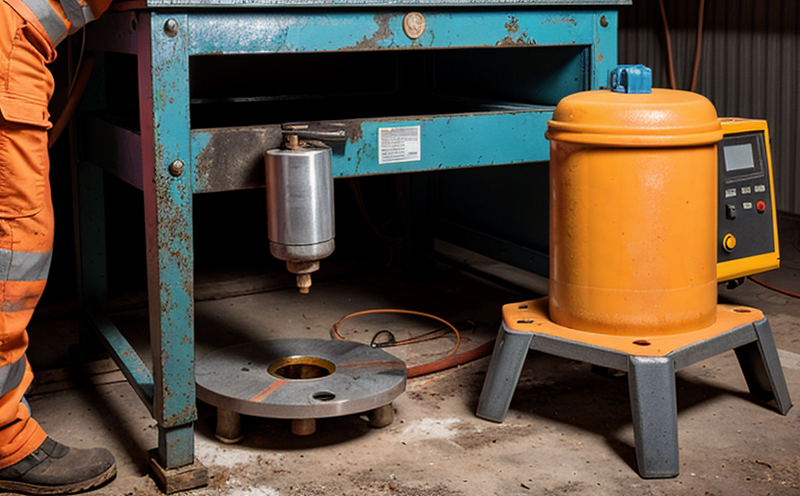
ASTM E142 Visual Testing of Aerospace Welds
The ASTM E142 standard provides a comprehensive framework for the visual inspection and evaluation of metal welds. This method is particularly critical in aerospace applications, where even minor defects can lead to catastrophic failures with severe consequences.
ASTM E142 outlines detailed procedures that ensure a consistent approach to inspecting welds using visible light. The testing process involves carefully examining the surface of the weld for any indications of discontinuities or irregularities. This includes checking for cracks, lack of fusion, incomplete penetration, and other visual defects.
For aerospace components, the stringent nature of these tests is paramount due to the high-stress environments in which they operate. The testing protocol described by ASTM E142 ensures that any welds used in aircraft or spacecraft meet the highest standards of integrity and reliability. Compliance with this standard helps ensure that the products are free from defects that could compromise safety.
The visual inspection process typically involves several key steps: surface preparation, application of cleaning solutions to remove contaminants, drying, and finally, the actual visual examination under controlled lighting conditions. The inspector must have thorough knowledge of defect characteristics specific to aerospace materials like aluminum alloys, titanium, and nickel-based superalloys.
| Parameter | Description |
|---|---|
| Lighting Conditions | Uniform illumination with controlled angles to minimize shadows and reflections. |
| Surface Preparation | Detailed cleaning using appropriate solvents or abrasives. |
| Positioning | Welds are placed in a way that allows for thorough examination from all critical angles. |
The visual testing process is not only about identifying defects but also about understanding the root causes. This knowledge helps manufacturers improve their welding processes, ensuring fewer defects and higher-quality products. The detailed records of inspections provide a valuable tool for quality assurance departments to track performance trends over time.
- Ensures compliance with aerospace standards.
- Identifies potential weld defects early in the manufacturing process.
- Reduces the risk of product failure due to undetected flaws.
Benefits
Implementing ASTM E142 visual testing in aerospace manufacturing offers numerous advantages. Firstly, it provides a non-invasive and efficient method for inspecting welds without the need for destructive tests. This saves time and resources while ensuring that the integrity of components is not compromised.
The process also enhances product reliability by identifying potential issues before they can cause operational failures. By adhering to this standard, manufacturers can demonstrate their commitment to quality assurance, which is crucial in an industry where safety and performance are paramount.
- Reduces the risk of undetected weld defects leading to catastrophic failure.
- Saves time and resources by avoiding unnecessary destructive testing.
- Enhances product reliability through early defect detection.
Industry Applications
The ASTM E142 standard finds extensive application across the aerospace industry, particularly in the fabrication and repair of critical components. These include aircraft fuselages, engine parts, landing gear, and structural elements that are exposed to high-stress environments.
| Component Type | ASTM E142 Application |
|---|---|
| Aircraft Fuselage | Inspection of lap joints and butt welds. |
| Engine Turbine Blades | Checking for cracks and incomplete fusion in high-temperature environments. |
| Landing Gear | Evaluating welds under dynamic loading conditions. |
Quality and Reliability Assurance
The ASTM E142 visual testing method plays a crucial role in the quality assurance process by providing a standardized approach to inspecting welds. This ensures that all aerospace components undergo consistent evaluation, which is essential for maintaining high standards of safety and reliability.
By adhering to this standard, manufacturers can ensure that their products meet rigorous international standards such as ISO 9001 and AS9100. These certifications are vital for gaining market access and ensuring customer satisfaction. The detailed records generated during visual inspections also serve as a valuable tool for continuous improvement in welding processes.
- Ensures compliance with aerospace quality standards like ISO 9001 and AS9100.
- Provides consistent evaluation of welds, ensuring product reliability.
- Serves as a benchmark for continuous improvement in manufacturing processes.


