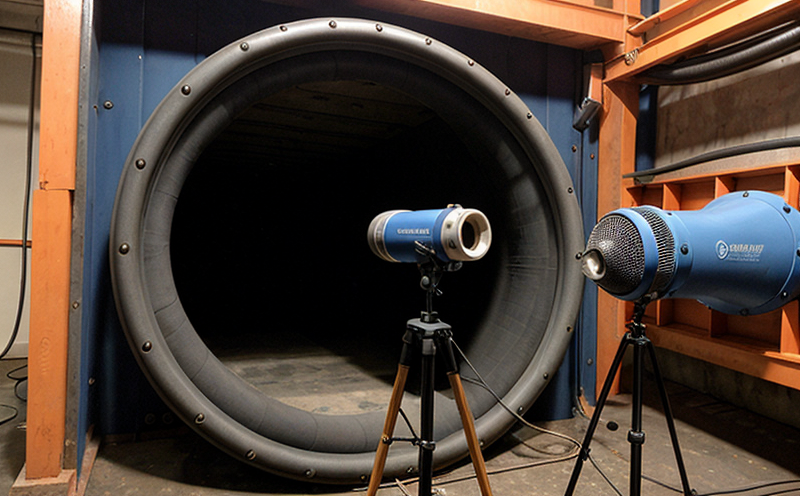
ISO 2400 Calibration Block for Ultrasonic Testing
The ISO 2400 Calibration Block is a critical tool in ensuring the accuracy and reliability of ultrasonic testing (UT) procedures. This block serves as an essential reference standard, allowing testers to calibrate their equipment accurately and verify that it meets the specified performance criteria outlined in international standards such as ISO 17649-2.
The calibration block is designed with specific dimensions, features, and materials that facilitate precise testing of ultrasonic probes. The block contains known defects or flaws, which are used to measure the sensitivity and resolution of the UT system. This process ensures that any discrepancies in the readings can be attributed to equipment performance rather than operator error or environmental factors.
Accurate calibration is crucial for several reasons:
- To ensure compliance with relevant international standards
- To maintain high-quality data integrity during inspections and evaluations
- To enhance accuracy and reliability of the test results
- To minimize the risk of false positives or negatives in defect detection.
The ISO 2400 Calibration Block is fabricated from a material that closely matches typical industrial components, such as steel, aluminum, or other relevant materials used in manufacturing processes. This ensures realistic calibration scenarios and accurate performance evaluation.
Before using the block for calibration, it is essential to prepare the specimen by ensuring its cleanliness and proper orientation within the testing environment. The testing parameters should be set according to the specific requirements of the standard being followed. These may include frequency ranges, pulse widths, and other relevant settings that impact the performance of the ultrasonic probe.
Once calibrated, the block can be used as a reference for subsequent tests. It helps in identifying any drift or degradation in the system over time, ensuring continuous compliance with quality assurance protocols.
The ISO 2400 Calibration Block is not only important for routine inspections but also plays a vital role in the development and validation of new UT techniques. By providing consistent and reliable data, this block enables researchers and engineers to fine-tune their methods and optimize testing processes.
Why It Matters
The ISO 2400 Calibration Block is essential for maintaining high standards in ultrasonic testing across various industries. Industries such as aerospace, automotive, and manufacturing rely heavily on UT to ensure the integrity of their products. Accurate calibration ensures that any defects detected are genuine and not due to equipment inaccuracies.
For instance, in the aerospace sector, a single flaw in a component could lead to catastrophic failures. The use of an ISO 2400 Calibration Block helps prevent such incidents by ensuring that all testing is conducted with precision and reliability.
In the automotive industry, where safety is paramount, accurate UT results are crucial for quality control processes. By using this calibration block, manufacturers can ensure that their products meet stringent safety standards and pass rigorous inspections.
The calibration process itself is straightforward but critical. The block is placed in a known position and subjected to ultrasonic waves of varying frequencies and amplitudes. The resulting signals are analyzed to determine the sensitivity and resolution of the equipment. Any discrepancies between expected and actual results indicate potential issues that need addressing.
Regular calibration ensures consistent performance across different testing sessions, which is vital for maintaining quality standards over extended periods. This not only enhances reliability but also contributes to cost savings by reducing the likelihood of expensive rework or product recalls.
Quality and Reliability Assurance
The ISO 2400 Calibration Block plays a pivotal role in ensuring that ultrasonic testing meets quality assurance standards. By using this block, testers can verify the accuracy and reliability of their equipment, thereby enhancing the overall integrity of inspection results.
One of the primary benefits is the ability to detect any inconsistencies or drifts in the system over time. This helps maintain a high level of precision throughout the testing process, ensuring that all measurements are accurate and reproducible.
The block also facilitates compliance with international standards such as ISO 17649-2, which outlines specific requirements for ultrasonic testing equipment. By adhering to these standards, testers can ensure that their methods meet industry-wide expectations, promoting consistency across different facilities.
Regular calibration using the ISO 2400 Calibration Block ensures that any discrepancies in the results are due to equipment performance rather than other factors such as operator error or environmental conditions. This leads to more reliable and accurate defect detection, which is crucial for maintaining quality standards.
The use of this block also promotes continuous improvement by identifying areas where improvements can be made. For instance, if repeated calibration shows consistent inaccuracies in certain measurements, further investigation into the equipment setup may be necessary. Such insights help improve testing methodologies over time and contribute to overall process optimization.
Customer Impact and Satisfaction
The ISO 2400 Calibration Block significantly impacts customer satisfaction by ensuring that ultrasonic testing meets or exceeds quality expectations. By using this block, companies can demonstrate their commitment to maintaining high standards of reliability and accuracy in their inspection processes.
Customers benefit from the enhanced confidence in test results, which translates into higher trust in the quality of products produced through these tests. This leads to improved customer satisfaction and loyalty as customers know they are receiving reliable and consistent products.
The block also helps reduce costs associated with rework or product recalls due to inaccurate testing. By ensuring that all tests are conducted accurately and reliably, companies can minimize downtime and production delays, further enhancing overall efficiency and profitability.
Regular calibration using the ISO 2400 Calibration Block demonstrates a proactive approach to quality management, which is highly valued by customers who appreciate transparency and commitment to excellence. This proactive stance also fosters long-term relationships with clients, as it shows that companies are invested in maintaining high standards of performance.


