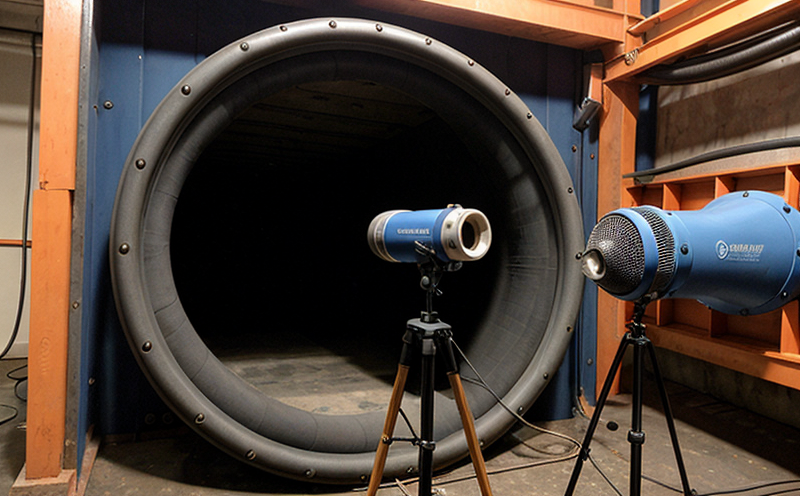
ISO 16823 Ultrasonic Testing Using Time-of-Flight Diffraction
The ISO 16823 standard specifies a method for detecting and characterizing defects in materials using ultrasonic testing with time-of-flight diffraction (TOFD). This non-destructive testing technique is particularly effective for inspecting large volumes of materials, such as welds or castings, where conventional methods are limited. TOFD is widely used in industries like aerospace, power generation, and shipbuilding to ensure the integrity of critical components.
TOFD relies on a focused ultrasonic beam that travels through the material, reflecting off defects at specific angles due to their geometry. The time it takes for the signal to travel from the probe to the defect and back (time-of-flight) is measured, allowing for precise defect sizing and location. This method provides high sensitivity and reliability in detecting small flaws that can compromise structural integrity.
The procedure involves setting up transducers at both ends of a test piece, typically with one sending an ultrasonic wave and the other receiving it after diffraction around defects. The distance between the transducers is crucial for accurate defect sizing, and this setup allows for the measurement of defect depth, length, and orientation.
Compliance with ISO 16823 ensures that inspections are conducted according to international standards, providing a benchmark for quality control and ensuring that components meet safety and performance requirements. This standard is particularly valuable in sectors where reliability and safety are paramount, such as nuclear power plants or offshore oil rigs.
| Aspect | Description |
|---|---|
| Transducer Configuration | The TOFD system uses two transducers, one for transmitting and the other for receiving. The choice of frequencies and types depends on the material being tested. |
| Calibration | Proper calibration is essential to ensure accurate defect sizing and location. This involves using reference blocks or standard specimens. |
| Data Acquisition | The TOFD system captures data that includes the time-of-flight of the ultrasonic signal, which is used to determine defect characteristics. |
| Post-Processing | Data is analyzed using specialized software to produce images and reports that highlight defects within the material. |
Why It Matters
ISO 16823 Ultrasonic Testing is crucial for ensuring the quality and safety of critical components in various industries. In aerospace, it helps verify that parts are free from defects that could lead to catastrophic failures during flight. For power generation, it ensures that turbines operate safely and reliably without compromising on energy efficiency.
The reliability of TOFD testing is enhanced by its ability to detect even small flaws that might not be apparent using other methods. This makes it indispensable in the manufacturing and maintenance processes where precision and accuracy are critical. By adhering to ISO 16823 standards, manufacturers can ensure their products meet stringent quality requirements, thereby enhancing customer trust and satisfaction.
- Reduces the likelihood of product failures
- Enhances safety in high-risk environments
- Improves operational efficiency by minimizing downtime for inspections
- Promotes compliance with international standards, ensuring global market acceptance
Scope and Methodology
| Aspect | Description |
|---|---|
| Material Types | The method is applicable to ferrous and non-ferrous materials, including steel, aluminum, and titanium. |
| Test Specimens | Standard specimens are used for calibration purposes. These include reference blocks with known defects of various sizes and shapes. |
| Operating Conditions | The test must be conducted under controlled conditions to ensure accurate results, including temperature and humidity control. |
To perform TOFD testing according to ISO 16823, it is essential that the setup meets specific criteria. The transducers should be positioned optimally for maximum signal reflection from defects. Calibration must ensure that the system can accurately measure time-of-flight and generate reliable images of defect characteristics.
The procedure involves scanning the test piece with the ultrasonic beam while recording data on a computer-controlled system. This data is then analyzed to produce detailed reports that document the presence, size, and location of any defects found. The results are used to determine whether the component meets specified quality standards.
Use Cases and Application Examples
- In aerospace manufacturing for inspecting large castings or forgings before assembly
- In power generation to verify the integrity of turbine blades and steam generator components
- In shipbuilding for inspecting hull plates and structural members
- In nuclear power plants for ensuring the safety of reactor pressure vessels
| Industry Sector | Component Type | Testing Objective |
|---|---|---|
| Aerospace | Welds in large aircraft components | Detect and characterize defects to ensure structural integrity |
| Nuclear Power Generation | Pressure vessels | Evaluate the presence of corrosion or other defects that could lead to failures |
| Offshore Oil and Gas | Hull plates in oil rigs | Ensure structural integrity against harsh environmental conditions |


