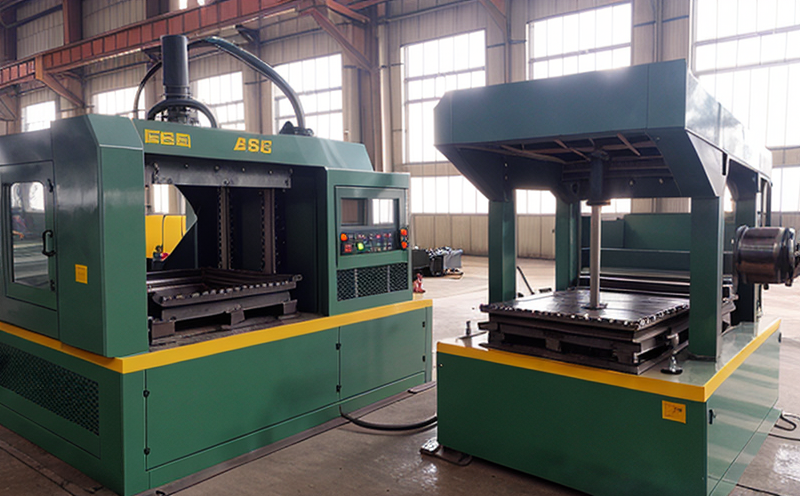
ISO 148 Charpy Impact Testing of Forged Steels
The ISO 148 Charpy impact testing method is a critical procedure used to evaluate the toughness and ductility of metallic materials, particularly forged steels. This test assesses how well a material can absorb energy up to fracture when subjected to a single, controlled impact load. The Charpy V-notch test, in particular, is widely recognized for its ability to provide insight into the dynamic mechanical properties of metals under conditions that simulate real-world applications.
Forging steels undergo significant deformation processes which affect their microstructure and hence their mechanical properties. Understanding these changes helps ensure the quality and reliability of components used in industrial manufacturing and processing, especially in sectors where structural integrity is paramount such as aerospace, automotive, and construction.
The Charpy V-notch test follows a standardized procedure outlined by ISO 148. A sample, typically a U- or V-shaped notch is machined into the specimen before being subjected to an impact from a pendulum hammer. The absorbed energy during this process determines the impact strength of the material, which is reported in joules (J).
The test setup includes a pendulum hammer capable of delivering controlled impacts at various velocities and heights. Specimens are prepared with specific dimensions ensuring precise results that can be compared against industry standards like ASTM E23 or EN 1090-5. The testing apparatus is calibrated regularly to ensure accurate measurements.
Forged steels, being crucial materials in industrial manufacturing, require rigorous quality control through tests like Charpy impact. These tests help manufacturers identify any flaws early on and make necessary adjustments during the forging process. For instance, if a batch of forged steel shows consistently low impact strength, it might indicate issues with heat treatment or raw material consistency that need addressing.
Another application lies in validating the effectiveness of new alloys or modifications made to existing steels for enhanced performance under extreme conditions. By subjecting these materials to Charpy testing alongside traditional mechanical tests (like tensile and hardness), engineers can make informed decisions about which materials best suit specific applications.
The results from such tests are also valuable in compliance audits, ensuring that products meet regulatory requirements set forth by organizations like the American Society for Testing and Materials (ASTM) or European Norms (EN).
Applied Standards
| Standard | Description |
|---|---|
| ISO 148-1:2013 | Impact Testing of Metallic Materials – Pendulum Impact Tester – Part 1: General Requirements and Guidelines for Testing |
| ASTM E23/E23M-17a | Standard Test Methods for Notched Izod or Charpy Impact Testing of Plastic, Wood, Fiber-Reinforced Plastics, and Asbestos-Containing Materials – Part I: Liquid-Hammer Tests; Part II: Pendulum Tests |
| EN 1090-5 | Steel for structural purposes – Part 5: Determination of mechanical properties by pendulum impact testing |
Industry Applications
The Charpy V-notch test is particularly relevant in industries where the integrity and durability of components are critical. For example, aerospace manufacturers rely heavily on this method to ensure that parts used in aircraft construction can withstand the harsh environments encountered during flight.
In automotive manufacturing, similar considerations apply; ensuring that chassis components or engine blocks have sufficient impact resistance is crucial for safety reasons. Similarly, in the construction industry, structures made from steel beams subjected to heavy loads must possess adequate toughness properties to prevent catastrophic failures.
For R&D departments within these industries, Charpy testing plays a vital role not only in meeting compliance standards but also in driving innovation by exploring new materials or refining existing ones. By continuously monitoring the impact performance of their products through rigorous tests like this one, companies can stay ahead of competition while maintaining high safety standards.
Moreover, for quality managers responsible for overseeing production processes, regular Charpy testing serves as an essential tool for process optimization and defect detection early in manufacturing cycles.


