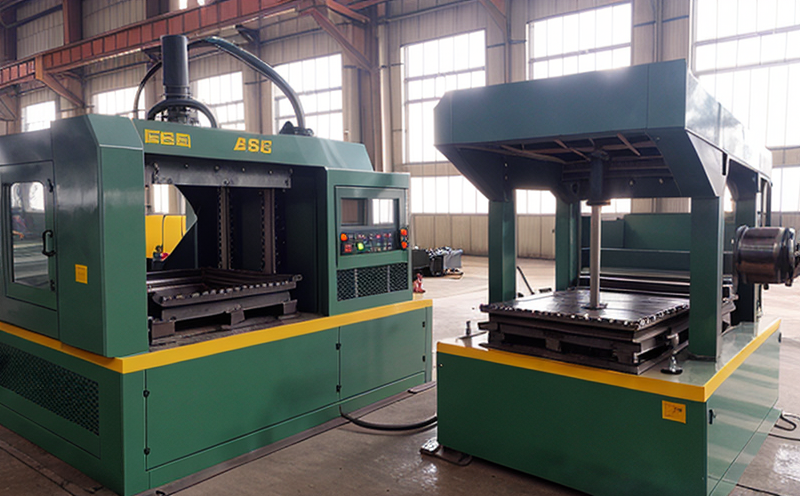
ISO 12048 Erichsen Cupping Test of Sheet Metals
The ISO 12048 Erichsen cupping test is a critical procedure used to evaluate the forming limits and stretchability properties of sheet metals. This test is particularly relevant in industrial manufacturing, especially for sectors like automotive, aerospace, and general engineering where high-quality materials are essential.
The primary purpose of this test is to determine the maximum amount that a sheet metal can be stretched before it starts to form permanent deformation or "cupping." The Erichsen cupping test involves clamping one end of a sheet metal specimen in a vice, and then applying incremental axial tension until the material begins to deform into a cup shape. This deformation is measured using specific criteria outlined in ISO 12048.
The testing process helps manufacturers ensure that their materials meet the required specifications for forming processes like stamping or forging. By understanding the maximum stretchability of the metal, engineers can optimize production methods and avoid costly failures during manufacturing.
The Erichsen cupping test is widely used in industries where high-quality sheet metals are essential. For instance, in the automotive sector, ensuring that steel sheets meet the required stretching limits ensures the structural integrity and safety of vehicles. In aerospace applications, the same principle applies to ensure that critical parts can withstand the rigors of manufacturing without compromising performance.
For quality managers and compliance officers, this test is a crucial tool for maintaining product standards and meeting regulatory requirements. R&D engineers rely on it to innovate and improve upon existing materials and processes. Additionally, procurement teams use the results from these tests to select suppliers who provide materials that meet stringent forming limits.
The Erichsen cupping test follows specific procedures as outlined in ISO 12048. These include precise specimen preparation methods, detailed instrumentation setup, and strict measurement protocols. The test is designed to be repeatable, ensuring consistent results across different laboratories and testing facilities.
One of the key aspects of this test is its ability to predict how a metal will behave under stress during forming processes. This information is invaluable for process engineers who are tasked with optimizing production lines and minimizing waste. By knowing the exact point at which a material begins to deform, they can adjust dies and tools accordingly.
The test also plays a significant role in quality assurance programs. It provides objective data that can be used to monitor the consistency of incoming materials or to track changes in manufacturing processes over time. This allows for proactive adjustments and ensures compliance with international standards.
Scope and Methodology
| Aspect | Description |
|---|---|
| Specimen Preparation | The specimen should be cut from the material to be tested, ensuring that it is free of defects and has a uniform thickness. The size should comply with the requirements specified in ISO 12048. |
| Instrumentation Setup | An Erichsen cupping tester is used, which includes a vice for clamping the specimen and an axial tension device to apply controlled force. The setup must be calibrated according to industry standards. |
| Data Collection | The deformation of the specimen during testing is monitored using a micrometer or other suitable measuring instrument. This data is recorded at regular intervals throughout the test. |
Testing typically starts with applying a small amount of tension to observe any initial deformations. The force is then increased incrementally until visible cupping begins to occur. At this point, the maximum load applied before deformation sets in is recorded as the forming limit. This value provides valuable insights into the material's performance capabilities.
The test can also be used to evaluate the effects of different factors such as temperature, humidity, or alloy composition on a metal’s stretching limits. These additional tests help tailor materials and processes specifically for various applications within industries like automotive and aerospace.
Why Choose This Test
- Ensures Material Quality: The Erichsen cupping test helps identify the maximum stretchability of sheet metals, ensuring that materials used in manufacturing processes meet strict quality standards.
- Predicts Forming Behavior: It provides valuable data on how a metal will behave under stress during forming processes like stamping or forging. This information is crucial for optimizing production methods and minimizing waste.
- Supports Regulatory Compliance: By adhering to international standards such as ISO 12048, this test ensures that materials used in manufacturing meet regulatory requirements and industry best practices.
- Facilitates Innovation: Testing different materials and processes helps engineers innovate and develop new products that are both efficient and cost-effective.
The Erichsen cupping test is a reliable method for evaluating the forming limits of sheet metals. Its ability to provide precise data on material behavior during stretching makes it an indispensable tool in industrial manufacturing processes. Whether you're working with steel, aluminum, or other alloys, this test offers valuable insights that can improve product quality and enhance production efficiency.
International Acceptance and Recognition
- Widely Accepted: The ISO 12048 standard for Erichsen cupping testing is recognized globally, ensuring consistency in results across different laboratories and jurisdictions.
- Incorporated into Industry Standards: Many industry-specific standards reference the Erichsen cupping test as a key method for evaluating sheet metal properties. This includes aerospace, automotive, and general engineering sectors.
The international acceptance of this test is due to its reliability and repeatability. Laboratories around the world adhere to the same procedures and protocols, ensuring that results are consistent and comparable. This global recognition makes it an ideal choice for manufacturers who operate in multiple countries or need to meet international standards.
For quality managers and compliance officers, knowing that this test is widely accepted simplifies regulatory compliance processes. It also provides peace of mind regarding the consistency and reliability of material testing results across different regions.


