DIN 54150 Eddy Current Non Destructive Testing of Automotive Components
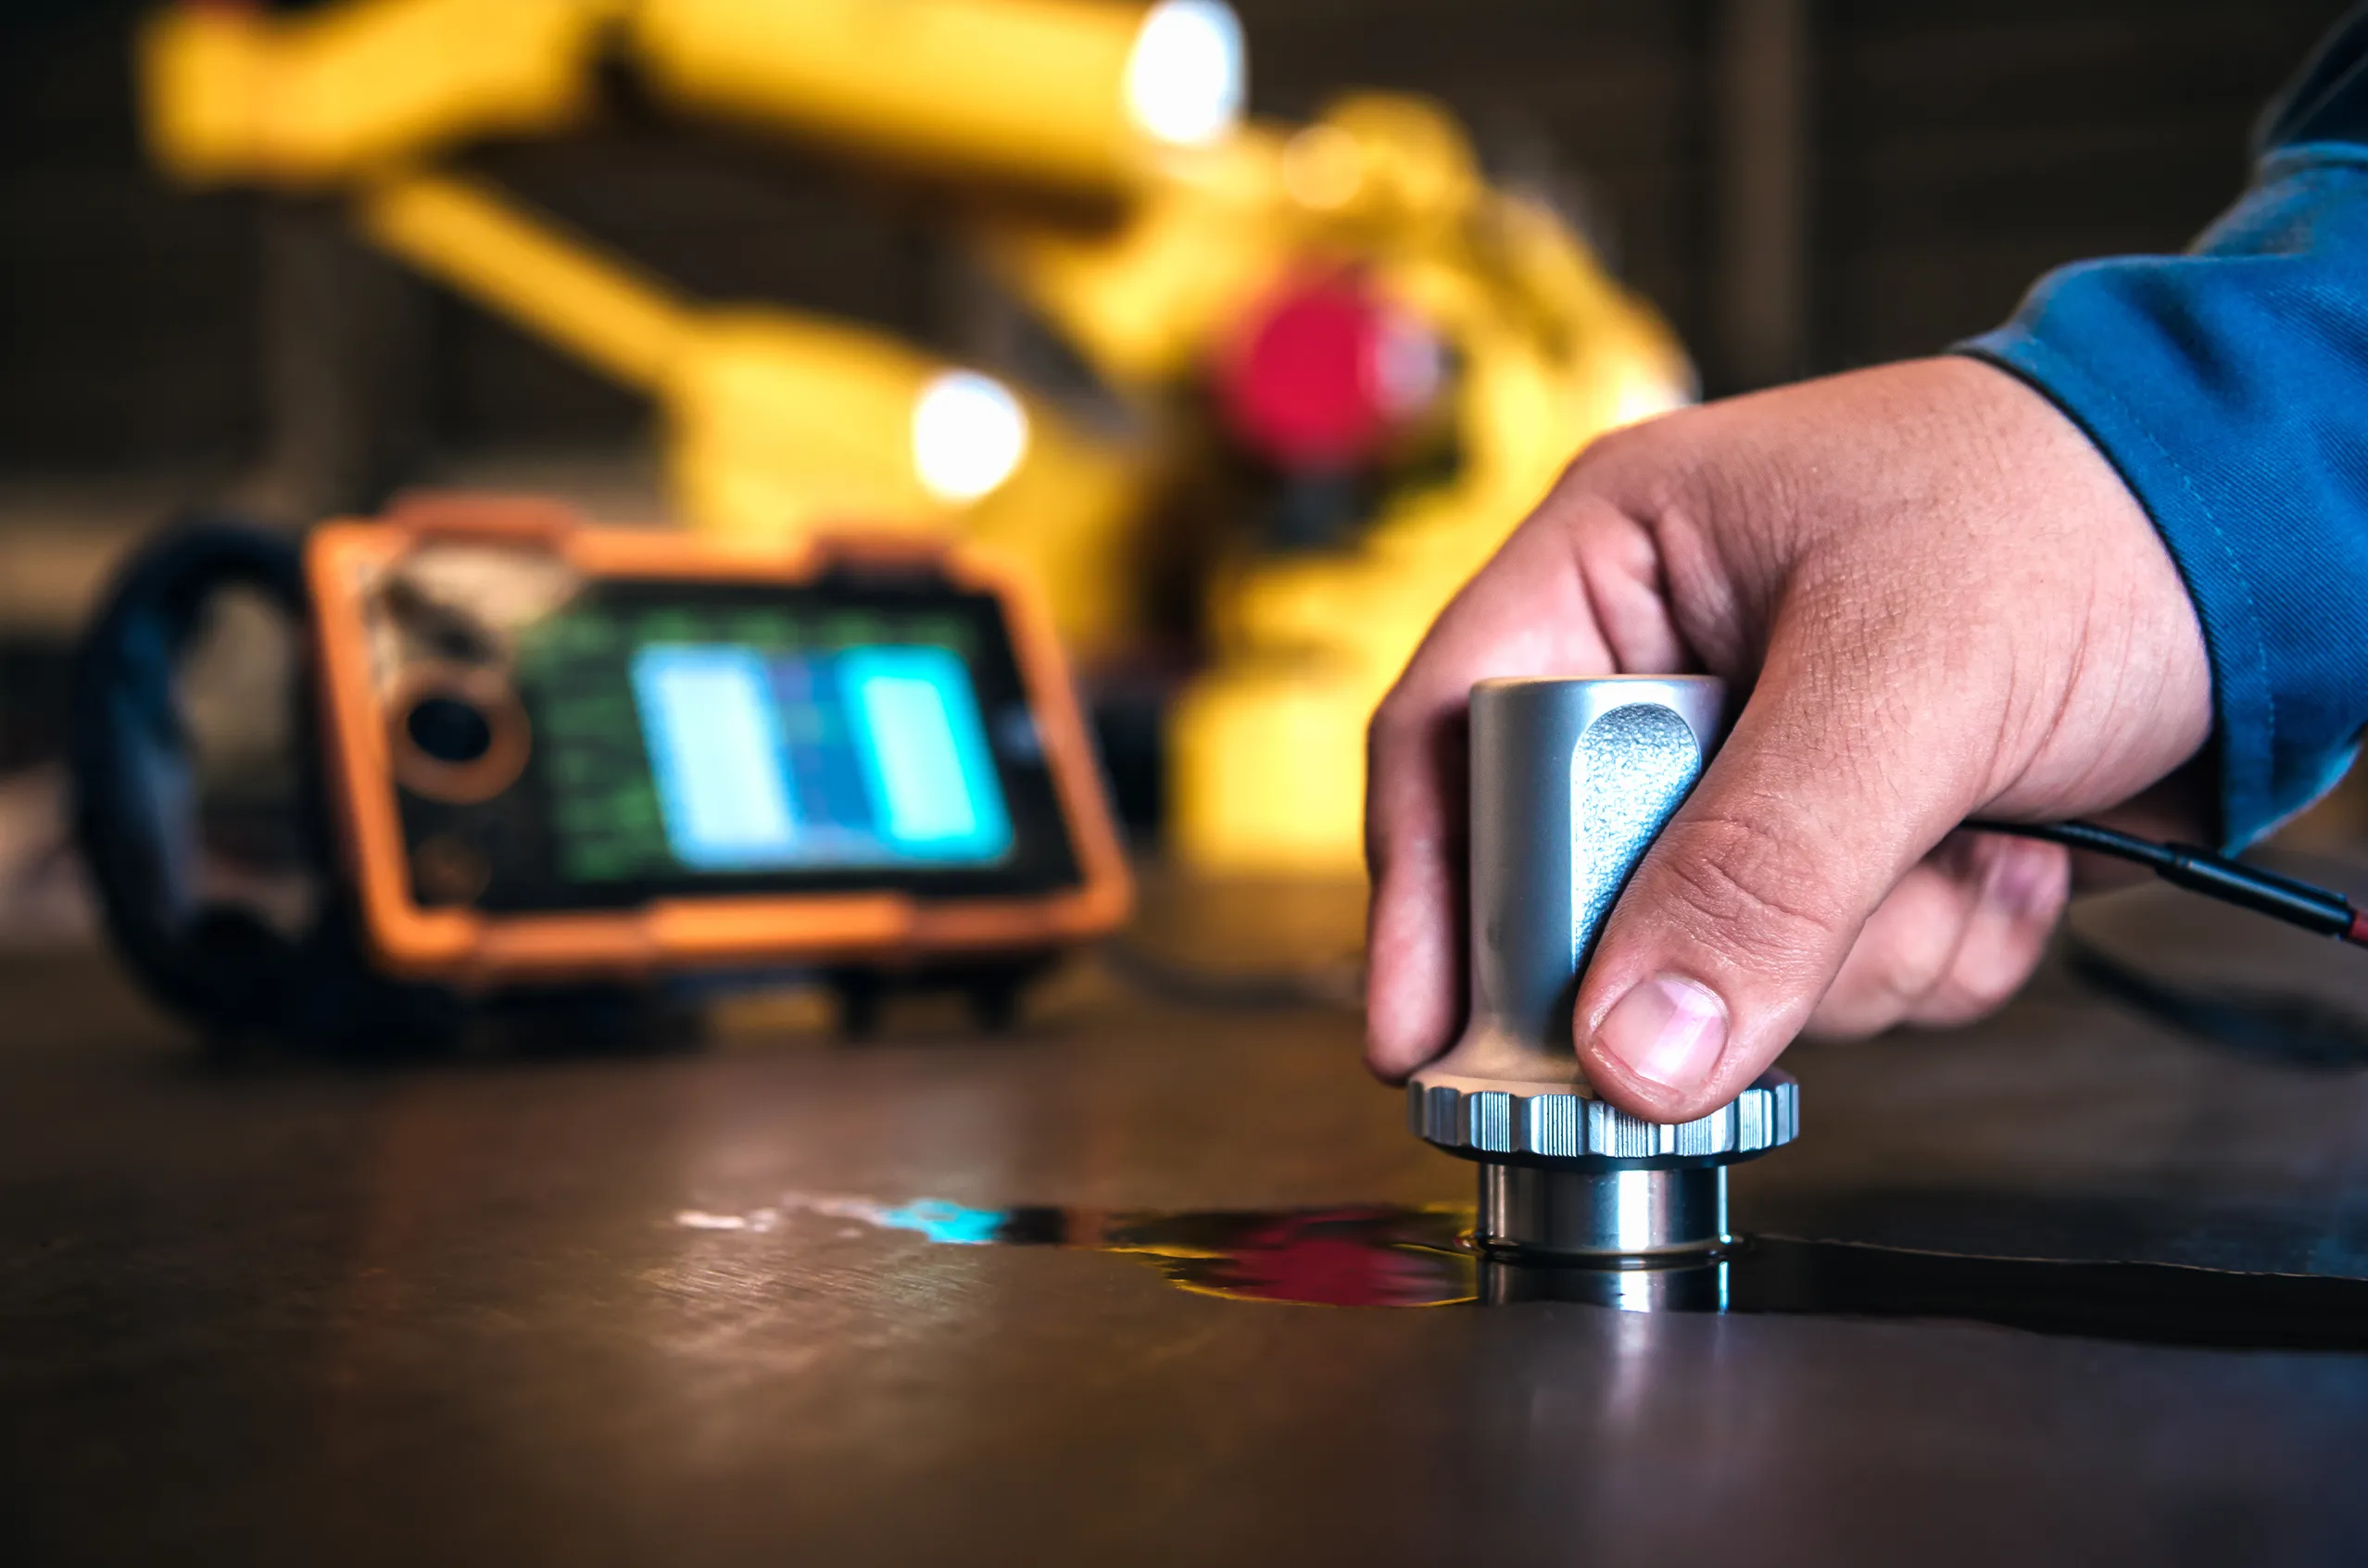
The DIN 54150 standard is a cornerstone in the automotive industry, focusing on non-destructive testing (NDT) using eddy current techniques. This method is particularly valuable for inspecting ferromagnetic materials such as steel and cast iron components used extensively in automotive manufacturing. Eddy current testing allows quality assurance teams to evaluate surface and subsurface flaws without altering or damaging the component.
The DIN 54150 standard encompasses a range of applications, from checking for cracks in engine blocks to detecting wear and tear on transmission gears. The process involves passing an alternating current through a conductor to generate a magnetic field around it, which induces eddy currents in adjacent ferromagnetic components. Changes in the magnetic field caused by material variations or defects are then measured using probes.
Implementing DIN 54150 requires specific expertise and equipment tailored for automotive sectors. Quality managers and compliance officers can leverage this testing method to ensure adherence to industry standards, while R&D engineers benefit from its ability to refine designs early in the product lifecycle. Properly conducted eddy current tests not only enhance safety but also contribute significantly to reducing warranty costs by catching defects before they become critical issues.
The standard specifies detailed procedures for setting up and executing NDT inspections. It includes guidelines on selecting appropriate probe types, calibrating equipment, and interpreting results accurately. Compliance officers will find these provisions essential in maintaining regulatory compliance across international markets where stringent quality control measures are required.
One key aspect of DIN 54150 is its emphasis on repeatability and reproducibility. To achieve consistent outcomes, the standard mandates strict adherence to specified testing conditions, including temperature ranges, humidity levels, and operator qualifications. These requirements ensure that test results remain reliable regardless of when or where they are conducted.
In terms of specimen preparation, DIN 54150 outlines specific steps for cleaning parts before inspection, ensuring that surface contamination does not interfere with accurate readings. Additionally, the standard addresses how to account for different material properties and thicknesses during testing, allowing for more precise evaluations across a variety of components.
The instrumentation used in eddy current testing must meet stringent criteria laid out by DIN 54150. This includes high precision sensors capable of detecting minute changes in magnetic fields, as well as software platforms designed to process data and generate comprehensive reports. Reporting should detail all findings along with recommendations for corrective actions or further investigations.
For those looking into implementing DIN 54150 within their organization, there are several important considerations:
- Select experienced personnel trained specifically in eddy current testing techniques.
- Invest in advanced equipment suitable for automotive parts inspection.
- Prioritize ongoing training and certification updates to keep abreast of any changes or enhancements to the standard.
The application of DIN 54150 extends beyond mere compliance; it plays a crucial role in enhancing overall product quality. By adhering strictly to its requirements, manufacturers can produce safer vehicles that meet both local and international safety standards more effectively.
| Applied Standards | Description |
|---|---|
| DIN 54150:2019-06 | Non-destructive testing of ferromagnetic materials using eddy current methods. |
| ISO/IEC 17025 | International standard for the competence of testing and calibration laboratories. |
Applied Standards
| Standard | Description |
|---|---|
| DIN 54150:2019-06 | This standard provides detailed specifications for performing eddy current inspections according to DIN 54150. It covers various aspects including equipment requirements, test procedures, and interpretation of results. |
| ISO/IEC 17025 | In addition to DIN 54150, this international standard ensures that testing laboratories meet high standards of quality in terms of facilities, personnel qualifications, and management systems. Compliance with ISO/IEC 17025 adds credibility to the results produced under DIN 54150. |
Eurolab Advantages
EuroLab offers a comprehensive suite of services aligned with DIN 54150, designed specifically for automotive manufacturers and suppliers. Our team of experts brings extensive experience in non-destructive testing techniques, ensuring accurate assessments that meet all relevant standards.
We provide:
- Comprehensive training programs to upskill your personnel on the latest eddy current testing practices.
- State-of-the-art facilities equipped with cutting-edge technology for precise inspections.
- A robust quality management system compliant with ISO/IEC 17025, guaranteeing consistent and reliable results.
Our commitment to excellence extends beyond mere compliance; we work closely with clients to tailor solutions that address their unique challenges. Whether you need assistance setting up a new testing facility or optimizing existing processes, EuroLab is here to support your goals.
Use Cases and Application Examples
- Engine blocks: Detecting cracks caused by manufacturing defects or wear due to prolonged use.
- Transmission gears: Identifying early signs of pitting that could lead to failure if left unchecked.
- Brake components: Ensuring there are no hidden flaws that might compromise braking performance and safety.
| Use Case | Description |
|---|---|
| Engine Blocks | Inspecting large sections of metal for internal and external defects. |
| Transmission Gears | Checking tooth surfaces for micro-cracks that could signal impending failure. |
| Brake Components | Evaluating the integrity of brake pads, discs, and calipers under various conditions. |


