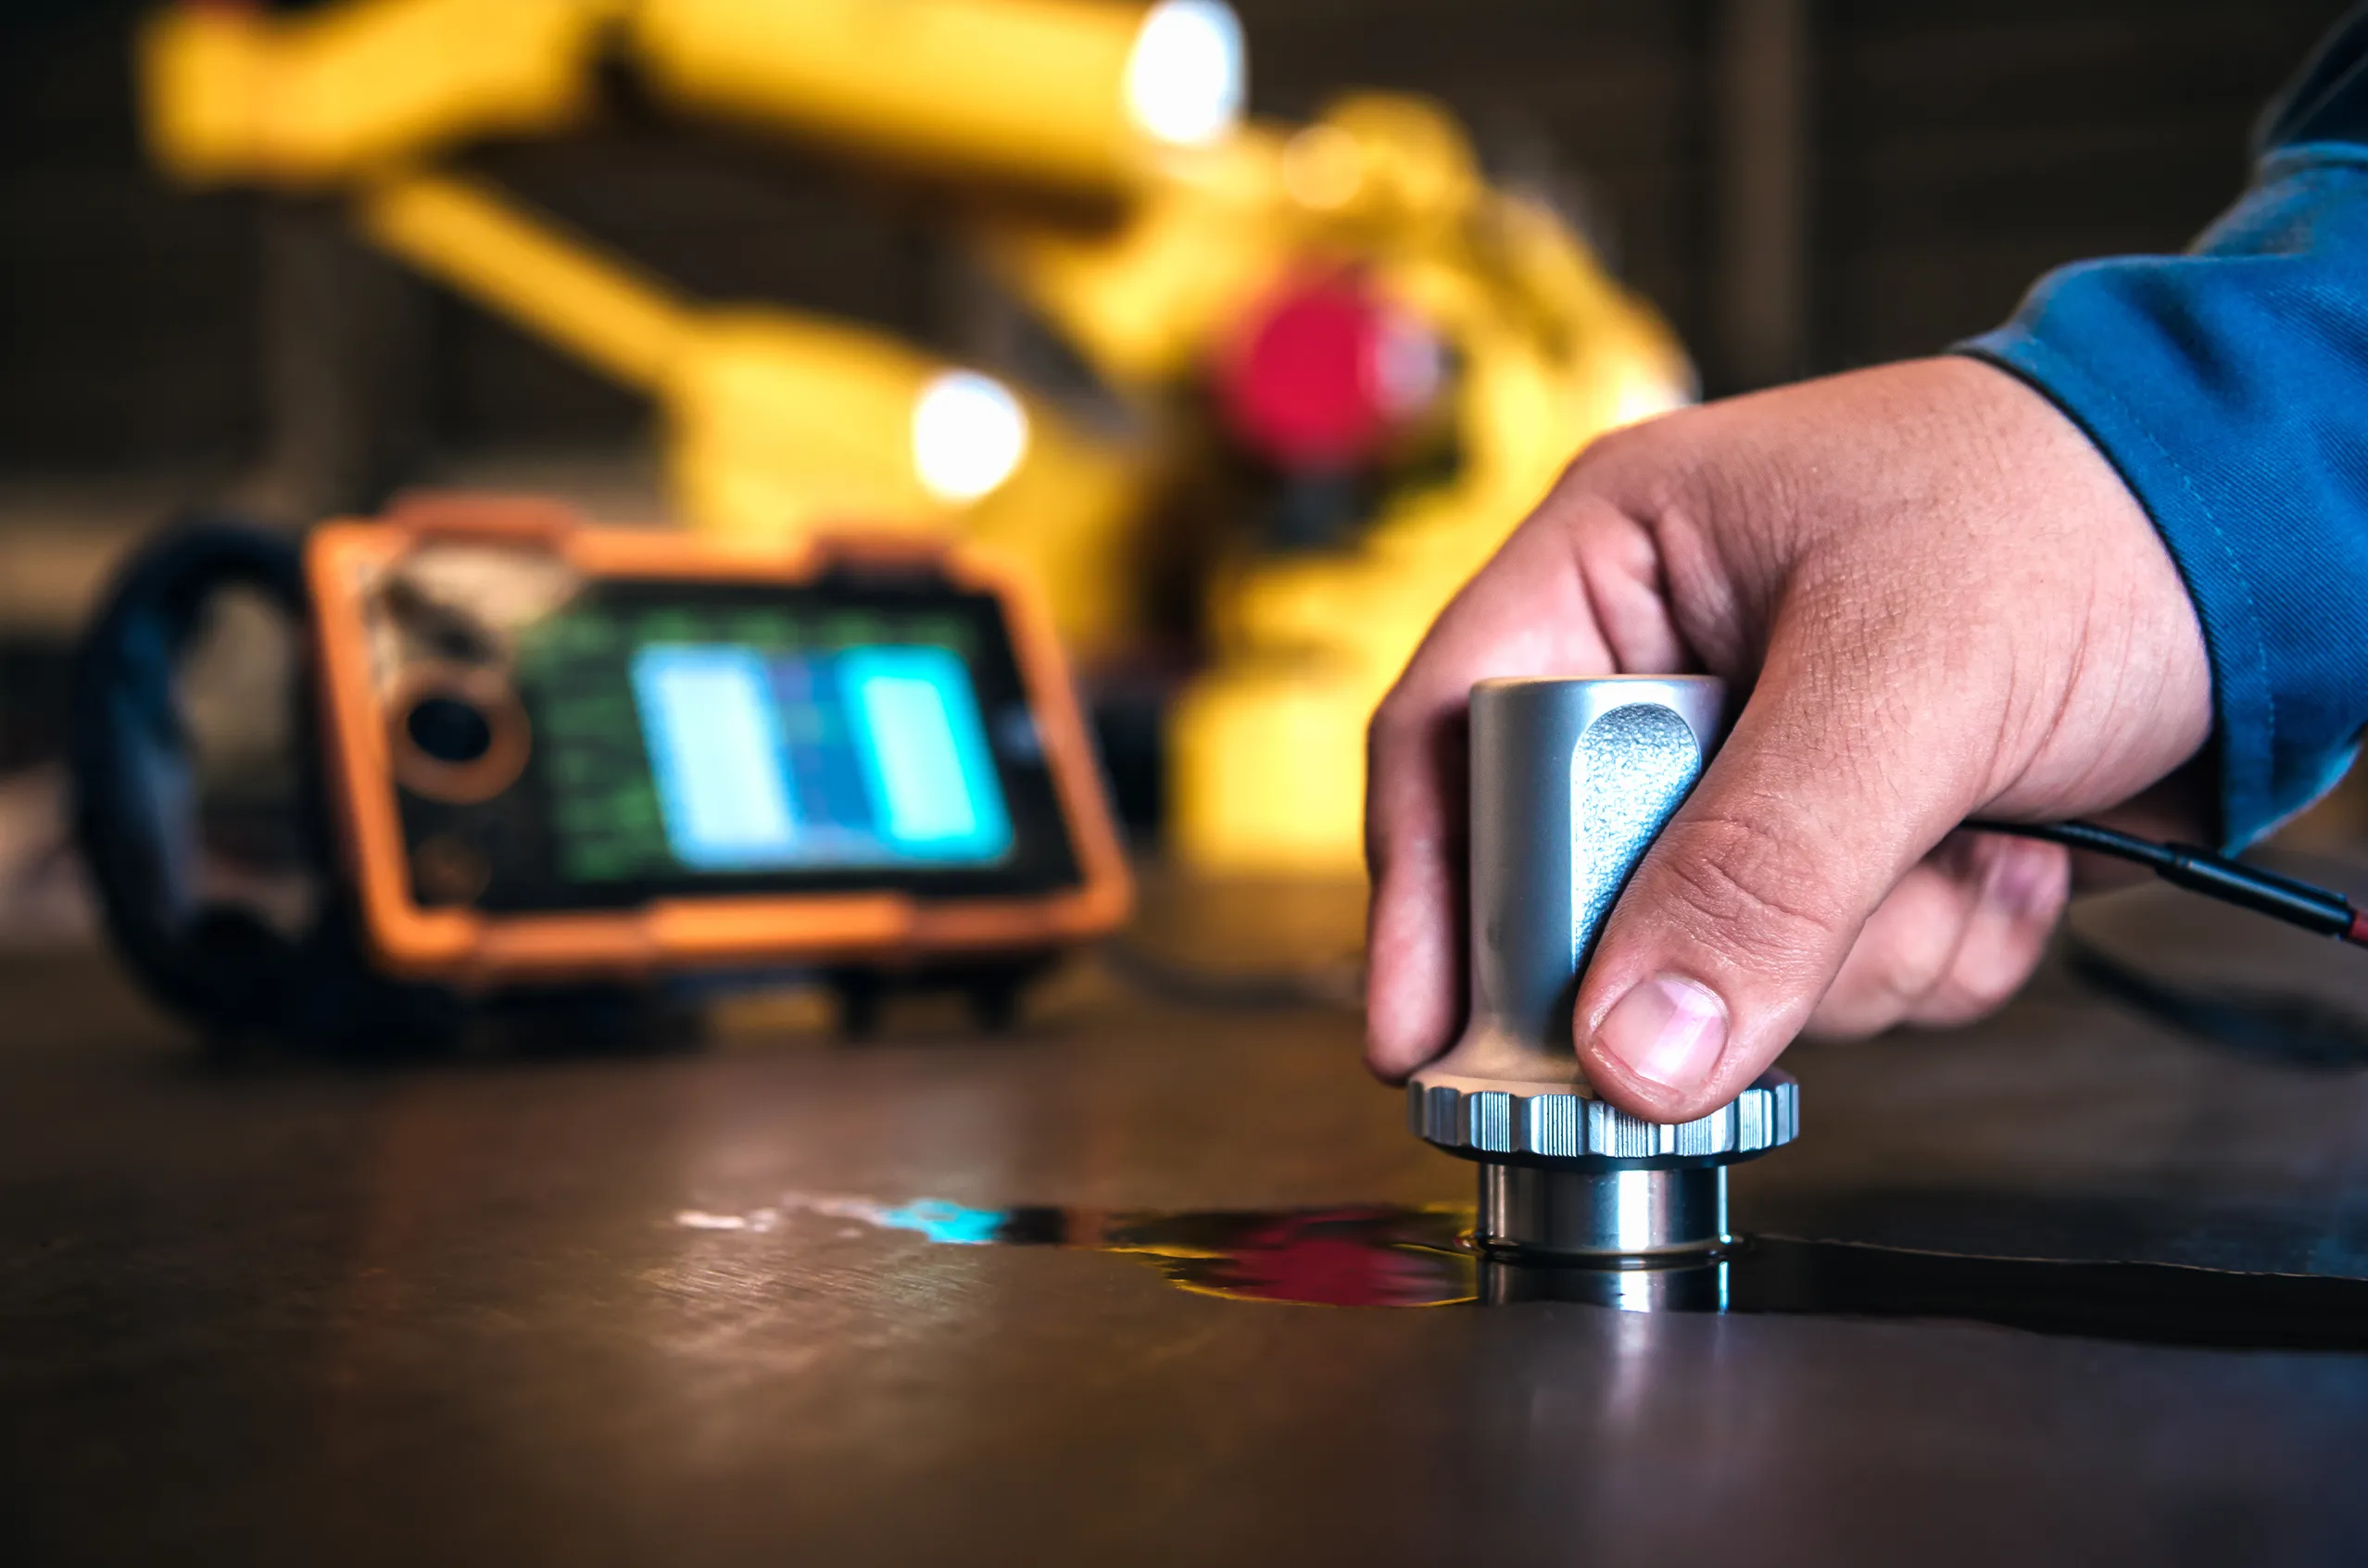
ANSI Z540 Calibration Non Destructive Testing for Vehicle Test Equipment
The ANSI Z54.1-2018 standard specifies requirements and guidelines for calibrating measurement, test, and inspection equipment. In the context of automotive testing, this standard ensures that all non-destructive testing (NDT) tools used in vehicle development are accurate, reliable, and repeatable, thus maintaining quality standards throughout the manufacturing process.
Non-destructive testing is crucial for identifying defects or flaws without damaging the component under test. In the automotive industry, NDT techniques such as ultrasonic testing, magnetic particle inspection, radiography, and eddy current testing are used to ensure that vehicle components meet stringent safety requirements. These tests cover various parts including engines, transmission systems, brake systems, and structural components.
The ANSI Z540 calibration process ensures that all NDT equipment is calibrated according to this standard. Calibration involves comparing the output of an instrument against a known reference value, ensuring accuracy within specified tolerances. This process not only enhances the reliability of testing but also minimizes errors and false positives, which are critical in the automotive sector.
For quality managers, compliance officers, R&D engineers, and procurement teams, accurate calibration is essential for meeting regulatory requirements and ensuring product safety. By adhering to ANSI Z540 standards, manufacturers can demonstrate their commitment to excellence and build trust with customers and stakeholders.
In addition to ensuring accuracy, the calibration process also helps in traceability of results. This means that every test result can be traced back to a primary reference standard, which is crucial for verifying data integrity and consistency across different testing environments.
The benefits of ANSI Z540 calibration extend beyond mere compliance; it enhances overall quality control processes. By using calibrated NDT equipment, manufacturers can identify potential issues early in the production cycle, reducing the need for costly rework or recalls later on. This proactive approach to quality assurance contributes significantly to brand reputation and customer satisfaction.
Moreover, ANSI Z540 calibration supports continuous improvement efforts within organizations. Regular calibrations help identify trends over time, allowing companies to make informed decisions about equipment maintenance and upgrades. This not only extends the lifecycle of testing instruments but also ensures long-term compliance with evolving industry standards.
In summary, ANSI Z540 calibration for non-destructive testing in vehicle test equipment is a critical component of ensuring reliability, accuracy, and traceability in automotive manufacturing processes. It plays an indispensable role in maintaining high-quality standards while supporting regulatory compliance and continuous improvement initiatives.
Applied Standards
The primary standard applied here is ANSI Z54.1-2018, which sets forth the requirements for calibrating measurement, test, and inspection equipment used in various industries, including automotive manufacturing. This standard ensures that all non-destructive testing (NDT) tools are calibrated according to strict guidelines.
Other relevant standards include ISO 9001:2015 for quality management systems, which helps organizations achieve consistent quality through effective processes. Additionally, ASME PTC 19.1-1987 provides guidance on the use and calibration of non-contact measurement devices like eddy current probes.
These standards collectively ensure that all NDT equipment used in automotive testing is accurate, reliable, and repeatable. By adhering to these guidelines, manufacturers can maintain high-quality standards throughout their production processes while ensuring compliance with regulatory requirements.
Scope and Methodology
The scope of ANSI Z540 calibration for non-destructive testing in vehicle test equipment encompasses a wide range of NDT techniques used across different sectors of the automotive industry. This includes ultrasonic testing, magnetic particle inspection, radiography, and eddy current testing, among others.
- Ultrasonic Testing (UT): UT is primarily used for detecting internal flaws in materials such as cracks or porosity within engine blocks, transmission systems, and brake components. The process involves sending ultrasonic waves through the material being tested; any anomalies cause reflections that can be detected by the instrument.
- Magnetic Particle Inspection (MPI): MPI is utilized to identify surface and subsurface flaws in ferromagnetic materials like steel used in structural parts of vehicles. A magnetic field is applied, causing iron particles to align along lines of magnetic flux leakage from defects, making them visible.
- Radiography: This technique uses X-rays or gamma rays to examine the internal structure of components such as engine cylinders and transmission gears. It helps in detecting cracks, voids, or other imperfections that may compromise structural integrity.
- Eddy Current Testing (ECT): ECT is employed for inspecting conductive materials like aluminum alloy used in lightweight vehicle parts. By inducing an alternating electromagnetic field into the part, changes due to flaws can be detected by measuring variations in eddy currents.
The methodology involves several steps: preparation of the test specimen, application of the NDT method, data acquisition and analysis, interpretation of results, and reporting findings. Each step must adhere strictly to ANSI Z540 standards to ensure accuracy and reliability.
After conducting these tests, detailed reports are generated that document all relevant parameters including equipment calibration status, test conditions, observed anomalies, and conclusions drawn from the analysis. These reports serve as crucial documentation for quality assurance purposes and regulatory compliance.
Competitive Advantage and Market Impact
- Enhanced Reputation: Adhering to ANSI Z540 standards enhances a company's reputation in the market. Customers appreciate consistent high-quality products, which translates into increased customer satisfaction and loyalty.
- Increased Efficiency: Accurate calibration reduces errors and false positives, leading to more efficient production processes with minimal downtime for retesting or corrections.
- Regulatory Compliance: By meeting ANSI Z540 requirements, automotive manufacturers ensure they comply with relevant regulations, avoiding potential penalties and legal issues.
- Better Product Quality: Consistent use of calibrated NDT equipment ensures that only high-quality components are used in vehicles, enhancing overall product reliability and safety.
- Innovation Support: Reliable testing equipment enables continuous improvement efforts within organizations. Regular calibrations help identify trends over time, allowing companies to make informed decisions about equipment maintenance and upgrades.
The market impact of ANSI Z540 calibration extends beyond individual firms; it contributes positively to the broader automotive industry by fostering innovation and quality assurance practices. As competitors adopt these standards, they contribute to a safer and more reliable vehicle manufacturing environment for consumers worldwide.


