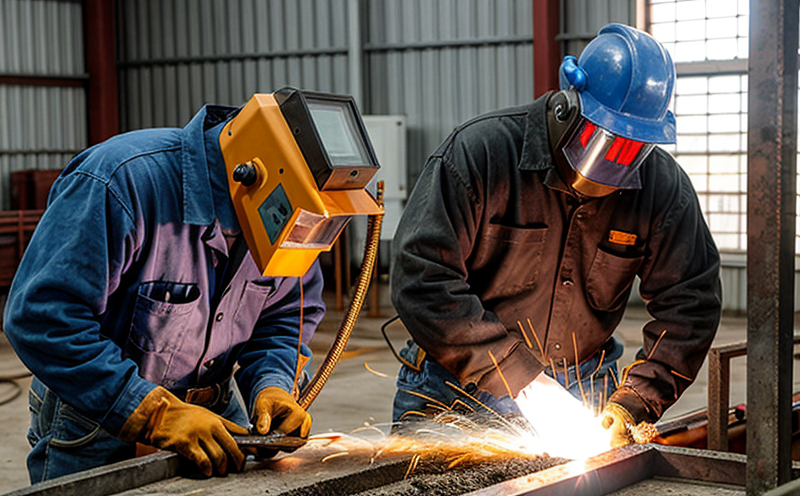
Welding joint quality inspection
The importance of welding joint quality cannot be overstated. In sectors like aerospace, automotive, and construction, the integrity of welds can mean the difference between safety and failure. Welding joints are subjected to a multitude of stresses during manufacturing and operational phases, making it critical to inspect them for defects that could compromise structural integrity.
Welding joint quality inspection involves the assessment of the strength, homogeneity, and continuity of the welds connecting metallic parts. This process ensures compliance with international standards such as ISO 9712:2012 (Non-destructive testing—Qualification and certification of nondestructive testing personnel) and ASME Section V (Welding, Brazing, and Joining of Pressure Containing Components).
The inspection process typically begins with a visual examination to identify any obvious defects. This is followed by the use of advanced techniques such as ultrasonic testing (UT), radiographic testing (RT), and magnetic particle testing (MT). Each technique has its own strengths and limitations, but when used in conjunction they provide a comprehensive evaluation.
Visual inspection: This involves examining the weld visually to detect any visible defects like cracks or lack of fusion. It is typically the first step in the inspection process as it can quickly identify major defects without the need for additional equipment.
Ultrasonic testing (UT): UT uses high-frequency sound waves that pass through a probe placed on the surface of the weld. Defects cause reflections, which are recorded and analyzed to determine their location and size. UT is particularly effective in detecting deep-seated flaws that may not be visible during visual inspection.
Radiographic testing (RT): This technique involves passing X-rays or gamma rays through the welded joint. The resulting image can reveal internal defects such as porosity, cracks, and incomplete penetration. RT is a destructive test, but it provides detailed information about the interior of the weld.
Magnetic particle testing (MT): MT uses magnetic fields to detect surface and near-surface flaws in ferromagnetic materials. A magnetic field is applied to the weld, and any discontinuities cause the magnetic flux to leak. This leakage can be detected using a special powder that adheres to the flaw.
For a more holistic approach, penetrant testing (PT) may also be employed. PT involves applying a liquid containing fluorescent dye or visible red dye to the surface of the weld. The excess is removed and any flaws are revealed by capillary attraction in the form of a stain on the surface.
The acceptance criteria for welding joints vary depending on the application and industry standards. For example, ASME Section V specifies that a 100% visual inspection combined with UT or RT should be performed for critical applications such as pressure vessels. In aerospace applications, ISO 5817 (Welding—Joint preparation, assembly and welding of metallic structures in the primary load carrying parts) sets strict standards for weld quality.
To ensure consistent and reliable inspections, it is crucial to use calibrated equipment and trained personnel. The NDT (Non-Destructive Testing) certification process ensures that inspectors are qualified to perform their tasks accurately and safely.
Benefits
- Enhanced safety: Ensures that welding joints meet the highest quality standards, reducing the risk of accidents and failures.
- Cost savings: Early detection of defects can prevent costly repairs or replacements down the line.
- Improved product reliability: Welding joint quality inspection enhances the overall reliability and durability of products made using welded joints.
- Compliance with regulations: Ensures compliance with relevant international standards, which is essential for regulatory approval.
Industry Applications
| Industry | Application |
|---|---|
| Aerospace | Inspection of critical components like turbine blades and fuselage frames. |
| Machinery Manufacturing | Verification of the integrity of large industrial machinery. |
| Petrochemical | Evaluation of pressure vessels and pipelines to ensure they can withstand high-pressure environments. |
| Automotive | Quality control for components such as engine blocks, axles, and suspension systems. |
Quality and Reliability Assurance
The quality of welding joints is critical to the reliability and safety of the products they support. In industries such as aerospace, where components must withstand extreme conditions, even minor flaws in a weld can have catastrophic consequences.
Quality assurance (QA) measures are implemented throughout the inspection process to ensure that all steps meet predefined standards. These include:
- Detailed pre-inspection checks of equipment and materials.
- Regular calibration of testing instruments.
- Continuous training for inspectors.
- Documented procedures for every aspect of the inspection process.
The results of welding joint quality inspections are meticulously recorded. These records serve as a benchmark for future inspections and can be used to identify trends in weld quality over time. This data can also inform improvements in manufacturing processes, helping to reduce defects and improve overall product reliability.
By adhering to strict QA measures, laboratories can provide clients with confidence that their products meet the highest standards of quality and reliability. This is particularly important for industries where safety and performance are paramount.


