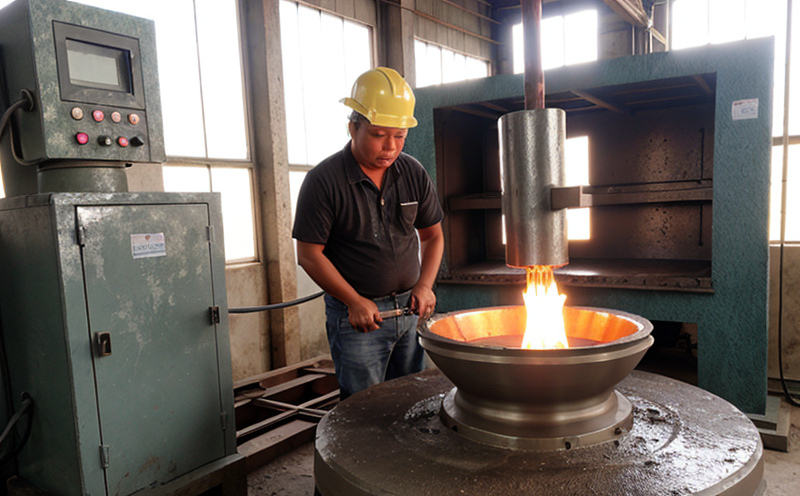
ISO 4989 Steel Castings Visual Testing
The ISO 4989 standard provides a comprehensive framework for conducting visual testing on steel castings. This service is essential in ensuring the integrity, quality, and reliability of steel castings used in various industrial sectors such as automotive, aerospace, and construction.
Visual inspection plays a critical role in the manufacturing process by identifying any defects that may compromise the performance or safety of steel castings. The visual testing procedure outlined in ISO 4989 is designed to detect surface irregularities, cracks, porosity, and other imperfections on steel castings. By adhering to this standard, manufacturers can ensure compliance with international regulations and specifications.
The process involves meticulous examination by trained inspectors using various tools and methods. These may include magnifying glasses, light sources, and specialized equipment that enhance the visibility of potential defects. The inspector’s expertise is paramount in ensuring accurate identification and documentation of any issues found during the visual inspection.
Once identified, defects are classified based on their severity according to ISO 4989 criteria. This classification helps manufacturers prioritize corrective actions and understand the extent of any issues within a casting batch or individual part. Proper recording and reporting of these findings ensure transparency throughout the supply chain, from manufacturer to end-user.
The importance of visual testing cannot be overstated when it comes to maintaining high standards in industrial manufacturing processes. By leveraging this service, companies can safeguard their reputation by delivering products that meet stringent quality control requirements. This not only enhances customer satisfaction but also contributes positively towards overall industry trust and reliability.
It is important for those involved in the inspection process to stay updated on advancements within the field of visual testing techniques. Continuous learning ensures that practitioners remain at the forefront of best practices, further enhancing the accuracy and effectiveness of inspections conducted under ISO 4989 standards.
Industry Applications
| Industry Sector | Application Specific to ISO 4989 Steel Castings Visual Testing |
|---|---|
| Aerospace | Ensuring the structural integrity of components used in aircraft engines and frames. |
| Automotive | Verifying the quality of engine blocks, transmissions, and other critical parts. |
| Railway | Checking wheelsets, axles, and other critical railway components for defects before deployment. |
| Construction | Guaranteeing that structural elements like bridge supports and crane bases are free from imperfections. |
| Machinery Manufacturing | Evaluating the quality of gears, shafts, and other rotating parts used in heavy machinery. |
The versatility of ISO 4989 makes it applicable across multiple industries where steel castings are utilized. In every application, ensuring compliance with this standard helps maintain consistency in product performance and safety. This service plays a crucial role in preventing potential failures that could lead to costly downtime or accidents.
Quality and Reliability Assurance
The implementation of ISO 4989 visual testing contributes significantly to the overall quality assurance efforts within industrial manufacturing processes. By adhering strictly to this standard, manufacturers can establish robust quality control measures that enhance product reliability.
This service not only identifies visible defects early in the production cycle but also helps prevent costly rework or scrap generation. Early detection allows for timely corrective actions, ensuring that defective parts are addressed before they enter further stages of manufacturing or reach customers.
The detailed documentation and reporting associated with ISO 4989 visual testing provide valuable data points which can be used to continuously improve processes and reduce variability in outcomes. This leads to more consistent product performance across batches and over time, thereby enhancing customer trust and satisfaction.
Moreover, compliance with international standards like ISO ensures that companies meet regulatory requirements set forth by governing bodies worldwide. This not only facilitates smoother operations but also opens up opportunities for exporting products internationally without facing unnecessary barriers due to non-compliance issues.
In conclusion, implementing ISO 4989 visual testing is an indispensable step towards achieving excellence in industrial manufacturing processes. It fosters a culture of continuous improvement and reliability that benefits both manufacturers and end-users alike.


