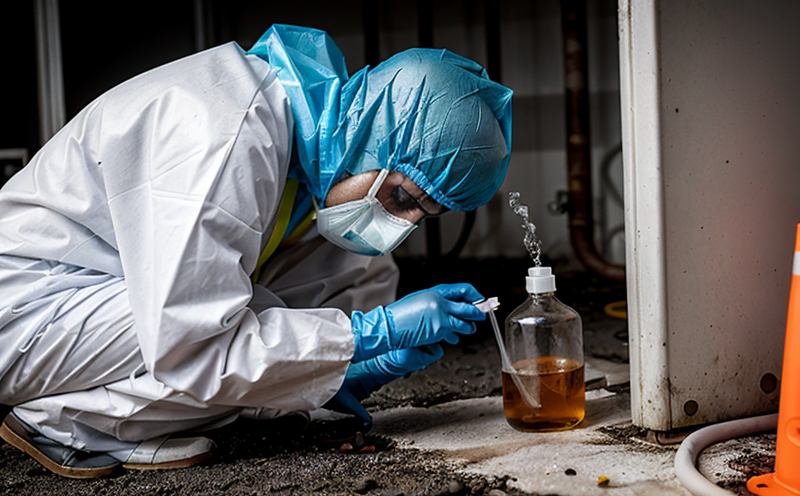
ISO 18338 Surface Contamination Testing by XPS/SEM
The ISO 18338 standard specifies a procedure for determining the presence of chemical contaminants on surfaces using X-ray Photoelectron Spectroscopy (XPS) and Scanning Electron Microscopy (SEM). This testing method is crucial in additive manufacturing and 3D printing, where surface integrity can significantly impact product performance. By identifying trace elements and compounds that may have adhered to or been introduced onto a material's surface during production processes, ISO 18338 ensures that the final product meets stringent quality control standards.
Understanding the nature of contaminants is vital for manufacturers looking to enhance process efficiency and reduce defects. For instance, in selective laser melting (SLM) or electron beam melting (EBM), surface contamination can lead to poor bond strength between layers, affecting mechanical properties such as tensile strength and fatigue resistance. Similarly, in powder bed fusion techniques like direct metal laser sintering (DMLS), any residual contaminants could compromise the integrity of the final part.
Through XPS/SEM analysis, laboratories can pinpoint specific elements present on a surface down to parts per million levels. This level of precision is essential for ensuring that materials used in additive manufacturing are free from harmful impurities or unwanted additives that might affect their intended applications. From aerospace components requiring high-strength alloys to medical devices demanding biocompatible surfaces, the ability to detect even trace amounts of contaminants can make a significant difference in meeting regulatory requirements and enhancing product reliability.
The procedure outlined in ISO 18338 involves several steps: first, preparing the sample by cleaning it thoroughly using appropriate solvents or mechanical means. Then, the sample is examined under SEM to visualize any visible residues before being analyzed with XPS. The XPS data provides detailed elemental composition information, allowing technicians to identify which elements are present and their relative proportions.
This dual approach ensures that both macroscopic and microscopic aspects of surface contamination are considered comprehensively. It also allows for the detection not only of contaminants but also beneficial additives that might have been introduced unintentionally during processing. By adhering strictly to this protocol, laboratories can provide accurate assessments that contribute significantly towards maintaining quality standards across various industries.
Why It Matters
The importance of surface contamination testing cannot be overstated in the realm of additive manufacturing and 3D printing. Contaminants on surfaces can have profound effects on the performance characteristics of components manufactured through these advanced techniques. For example, even minute traces of metals or organic materials might cause corrosion issues over time, reducing the lifespan of critical parts like turbine blades in aviation engines.
Furthermore, surface contamination is often indicative of broader process-related problems within additive manufacturing plants. If certain contaminants persistently appear on surfaces after multiple batches have been produced, it suggests potential flaws in the cleaning procedures or raw materials sourcing processes. Addressing these underlying causes can improve overall production efficiency and reduce costs associated with rework or scrapped products.
In addition to enhancing product quality, thorough surface contamination testing plays a crucial role in maintaining regulatory compliance across different sectors. Regulatory bodies such as FAA (Federal Aviation Administration) impose strict guidelines on material specifications for aircraft parts due to safety concerns. Ensuring that all materials used meet these stringent criteria through rigorous testing helps manufacturers stay ahead of changing regulations and maintain their competitive edge.
From a broader perspective, ensuring high-quality surfaces contributes positively to environmental sustainability efforts by minimizing waste generation during manufacturing processes. By detecting early signs of contamination, companies can implement corrective measures promptly, preventing large quantities of defective products from entering the supply chain. This proactive approach fosters sustainable practices throughout the industry.
Scope and Methodology
| Step | Description |
|---|---|
| Sample Preparation | The sample must be cleaned using solvent-based methods or mechanical abrasion techniques to remove any visible dirt, oils, or other contaminants. It is important not to alter the surface characteristics during this step. |
| SEM Examination | Scanning Electron Microscopy (SEM) images are captured to observe the topography of the sample's surface at high magnifications, helping identify any visible residues or irregularities that could indicate contamination. |
| XPS Analysis | The X-ray Photoelectron Spectroscopy analysis determines the elemental composition of the sample's outermost atomic layers. This technique provides precise information about which elements are present and their concentrations, down to parts per million levels. |
| Data Interpretation | Laboratory experts interpret the data obtained from both SEM and XPS analyses. They compare these findings with predetermined thresholds defined in ISO 18338 standards to determine whether contamination exists and its extent. |
Benefits
The implementation of ISO 18338 surface contamination testing by XPS/SEM offers numerous advantages to organizations involved in additive manufacturing and 3D printing. One key benefit is enhanced product quality assurance, ensuring that the final products meet rigorous standards set forth by industry regulations. This not only boosts customer satisfaction but also enhances brand reputation.
Additionally, this testing method enables early detection of potential issues within production processes, allowing companies to address these concerns proactively rather than reactively once defects become apparent in finished goods. Early intervention helps minimize costs associated with scrap rates and rework while improving overall productivity.
A significant advantage lies in meeting stringent regulatory requirements across various sectors. By conducting thorough surface contamination tests according to ISO 18338 guidelines, manufacturers can ensure compliance with international standards like FAA or FDA regulations where applicable. This not only reduces the risk of non-compliance penalties but also opens up access to new markets and opportunities.
Moreover, adopting this testing protocol fosters sustainable practices within additive manufacturing operations by reducing waste generation through timely identification and correction of contamination sources. Such initiatives contribute positively towards environmental sustainability efforts and align with corporate social responsibility goals.


