EN ISO 10042 Visual Testing Quality Levels for Aluminum Welds
The European Norm ISO 10042 specifies visual testing methods to assess the quality of aluminum welds. This standard is pivotal in ensuring that components used within the railway and transportation sectors meet stringent quality standards, which are critical for safety and reliability.
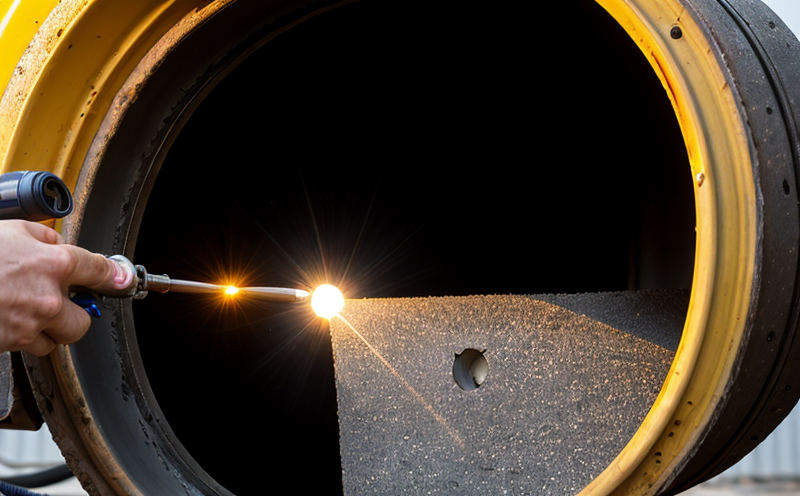
Visual testing involves inspecting materials or welds without using destructive means such as grinding, machining, or heat treatment. It relies on the naked eye, low-power magnification devices like hand lenses, and sometimes optical instruments to evaluate surface discontinuities and flaws. This method is particularly important for aluminum welds due to their high conductivity and heat resistance properties which make them essential in railway and transportation systems.
The standard defines three quality levels (A, B, and C) based on the visual inspection methods used:
- Quality Level A: This level requires the welder to ensure that the surface of the aluminum weld is free from visible defects. It emphasizes the importance of proper welding techniques and pre-welding preparations.
- Quality Level B: In addition to ensuring a defect-free surface, this quality level also mandates a visual inspection for any internal discontinuities that might not be apparent on the exterior. This is achieved through careful examination using low-power magnification devices.
- Quality Level C: For the highest standard of welding quality, Quality Level C requires detailed visual inspection and documentation. It involves more rigorous testing methods to ensure minimal defects are present in the welds. This level often includes post-weld heat treatment as an additional step to enhance the integrity of the aluminum weld.
Non-destructive inspection is essential for maintaining the integrity of railway and transportation systems. By adhering to these quality levels, organizations can ensure that their products meet international standards and are safe for use in critical applications such as train carriages and aircraft components.
The visual testing process is straightforward but requires careful attention to detail. It involves thorough preparation of the specimen, including cleaning, degreasing, and drying before inspection. The inspector must be trained and qualified according to ISO 10042 guidelines. Proper lighting conditions are crucial for accurate inspections as they can significantly affect visibility.
Understanding these quality levels helps stakeholders in the railway and transportation sectors make informed decisions about their testing protocols. Compliance with international standards like EN ISO 10042 not only ensures safety but also enhances reputation, reduces liability risks, and fosters trust among customers and partners.
Why It Matters
The implementation of EN ISO 10042 is crucial for ensuring the reliability and safety of railway and transportation systems. Aluminum welds are subject to stringent quality checks because even minor flaws can lead to catastrophic failures in critical components like train wheels or aircraft fuselages.
- Enhanced Safety: By adhering to these standards, organizations reduce the risk of accidents caused by compromised structural integrity.
- Informed Decision-Making: Quality managers can make data-driven decisions based on consistent and reliable inspection results.
- Cross-Industry Acceptance: Compliance with international standards ensures that products are accepted across various transportation sectors globally.
- Regulatory Compliance: Meeting these standards helps organizations avoid costly legal issues and penalties.
The railway and transportation industries rely heavily on robust testing methods to ensure product quality. Visual inspections, particularly those guided by EN ISO 10042, play a vital role in this process. They provide a non-invasive means of assessing the integrity of welds without compromising their structural properties.
Non-destructive inspection is especially beneficial for aluminum welds due to its ability to detect surface and internal flaws efficiently. This capability ensures that only high-quality components are used, thereby enhancing overall system reliability and performance.
Scope and Methodology
The scope of EN ISO 10042 includes the visual inspection methods applicable to aluminum welds in various contexts within the railway and transportation sectors. This standard is designed for use by manufacturers, inspectors, and quality assurance personnel involved in the production or testing of such welds.
The methodology involves several key steps:
- Preparation: Cleaning, degreasing, and drying the specimen to ensure a clear surface for inspection.
- Inspection: Using visual methods with or without magnification to identify any defects or irregularities in the welds.
- Evaluation: Determining whether the weld meets the specified quality levels (A, B, and C).
- Documentation: Recording all findings and ensuring they align with international standards for traceability and audit purposes.
The standard also provides guidelines on the use of lighting conditions to optimize visibility during inspections. Proper illumination is essential as it can significantly impact the ability to detect defects accurately.
Incorporating these steps into a comprehensive quality assurance program ensures that all aluminum welds meet stringent international standards, thereby enhancing safety and reliability in railway and transportation systems.
Benefits
- Enhanced Safety: Visual testing helps identify defects before they become critical issues.
- Improved Quality: Ensures that only high-quality aluminum welds are used in railway and transportation systems.
- Cost Efficiency: Preventing costly repairs or replacements by catching flaws early.
- Cross-Industry Acceptance: Compliance with international standards ensures product acceptance across various sectors globally.


