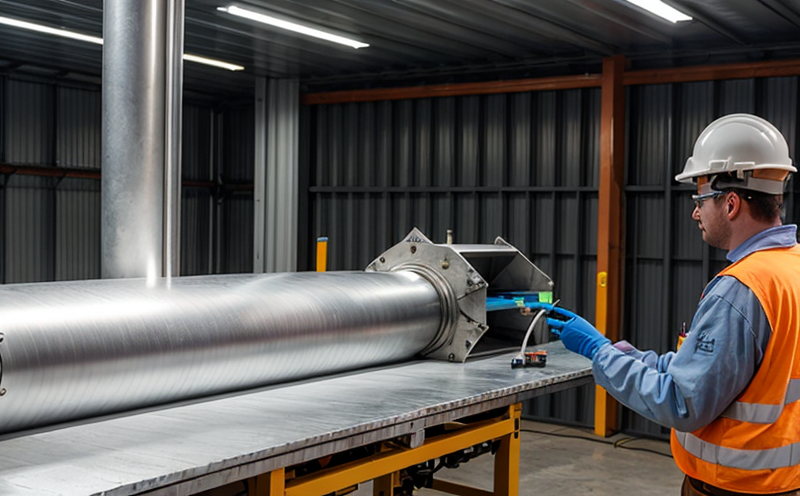
ASTM E384 Microhardness Testing of Renewable Materials
The ASTM E384 microhardness testing method is a crucial tool in evaluating the mechanical properties of materials used in renewable energy applications. This technique measures the hardness and indentation size sensitivity of various materials, including those derived from natural resources or synthesized for sustainable use. It plays an essential role in ensuring that these materials meet stringent quality standards necessary for durability, efficiency, and reliability.
The method is widely utilized across the energy sector, particularly in sectors like wind turbine manufacturing, solar panel production, and biofuel development. The properties of materials used in renewable applications can significantly impact the performance and lifespan of equipment. By providing precise microhardness measurements, ASTM E384 helps manufacturers optimize their products for better sustainability without compromising on strength or integrity.
Microhardness testing involves pressing a small indenter into the surface of a specimen using a predefined load. The depth of indentation is then measured to calculate hardness values based on standard formulas. This process requires highly accurate instruments capable of exerting controlled forces with minimal deformation. Instruments like the Vickers or Knoop microhardness testers are commonly used for this purpose.
Specimen preparation is critical in ASTM E384 testing. Proper sample conditioning ensures consistent results and reliable data interpretation. Common techniques include polishing, grinding, and etching to achieve a smooth, clean surface free from distortions that could affect indentation accuracy. Specimens should be representative of the material being tested; therefore, they are often taken from different locations within larger components or structures.
The test procedure itself follows strict guidelines outlined in ASTM E384. It specifies the type and size of indenter to use, the range of loads applicable for various materials, and the criteria for acceptable indentation impressions. Compliance with these standards guarantees that all tests are conducted under consistent conditions, leading to comparable results across laboratories.
One key advantage of ASTM E384 is its versatility when applied to renewable materials. Whether it's assessing the hardness of polyethylene terephthalate (PET) in wind turbine blades or examining lignin-based adhesives used in solar panel substrates, this method offers valuable insights into material behavior under different loading conditions.
Another benefit lies in its ability to detect subtle changes within materials during development stages. As researchers push boundaries towards more sustainable practices, understanding how slight variations in composition or processing affect mechanical properties becomes increasingly important. ASTM E384 allows for continuous monitoring of these parameters throughout the research lifecycle, ensuring that innovations remain robust and reliable.
Moreover, microhardness testing supports regulatory compliance by providing verifiable evidence of material performance. Many international standards organizations recognize ASTM E384 as a reliable means of validating product quality, making it indispensable for companies seeking certification or endorsement from governmental bodies.
Scope and Methodology
| Test Parameters | Description |
|---|---|
| Specimen Preparation | The process involves cleaning, conditioning, and conditioning the sample to ensure accurate results. |
| Indenter Selection | Choosing the appropriate indenter type (e.g., Vickers or Knoop) based on material properties. |
| Load Application | The specified load is applied for a defined period to create an indentation impression. |
| Measurement | The depth of the indentation is measured using precise instruments. |
| Calculation | Hardness values are calculated using standard formulas provided in ASTM E384. |
| Acceptance Criteria | Description |
|---|---|
| Indentation Depth Limits | The maximum and minimum allowable depths for different materials to ensure accurate hardness readings. |
| Repeatability | The degree of agreement between repeated measurements under identical conditions. |
| Representativeness | The extent to which the sample is representative of the material being tested. |
| Data Interpretation | Guidelines for interpreting hardness data in relation to material properties and expected performance. |
Customer Impact and Satisfaction
- Enhanced Product Quality: ASTM E384 ensures that renewable materials meet high-quality standards, leading to more reliable and durable products.
- Improved Efficiency: By identifying weak points early in the development process, this method helps streamline production lines and reduce downtime.
- Cost Savings: Consistent quality through rigorous testing can lead to significant cost savings by minimizing defects and rework.
- Increased Market Confidence: Meeting international standards like ASTM E384 builds trust among consumers who value sustainability and reliability.
- Better Decision-Making: Accurate hardness data enables informed decisions regarding material selection, process optimization, and product design.
- Premium Brand Reputation: Companies using ASTM E384 demonstrate their commitment to excellence, attracting loyal customers and partners.
Environmental and Sustainability Contributions
- Emission Reduction: By promoting the use of sustainable materials that are more efficient and durable, ASTM E384 indirectly contributes to lower emissions from operational equipment.
- Resource Conservation: Ensuring quality through testing helps prevent waste by eliminating substandard products early in the manufacturing process.
- Eco-Friendly Production Processes: The insights gained from ASTM E384 can lead to more efficient production methods that minimize environmental impact.
- Sustainable Supply Chains: By specifying high-quality standards, ASTM E384 encourages suppliers to adopt greener practices throughout the supply chain.


