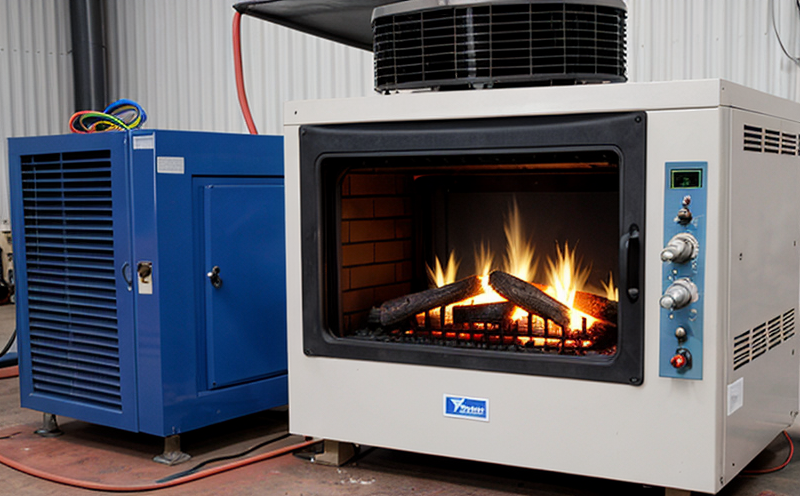
ASTM D3418 Differential Scanning Calorimetry Thermal Testing
The ASTM D3418 standard method outlines a differential scanning calorimetry (DSC) technique to determine the heat capacity, melting point, crystallization temperature, and glass transition temperature of materials. This thermal testing is particularly important for quality managers, compliance officers, R&D engineers, and procurement teams dealing with lighting products.
The ASTM D3418 test method involves heating a sample at a constant rate while simultaneously monitoring the heat flow to another reference material. The difference in heat flow between the two is measured as a function of temperature. This difference can be attributed to phase transitions such as melting, crystallization, or glass transition.
Lighting products often involve complex materials with various thermal properties that are crucial for product performance and compliance. For instance, phosphor-based lighting systems require precise control over the heat generated during operation to avoid degradation of the material and potential hazards. By using ASTM D3418, manufacturers can ensure their products meet international standards like IEC 62555 and EN 62706.
The testing process starts with selecting appropriate specimens that represent the product's thermal behavior under typical operating conditions. Specimens are prepared in accordance with ASTM D3418 requirements, which may include grinding or cutting to ensure uniformity across samples. The samples are then loaded into a sample holder and placed into the calorimeter.
The instrument is calibrated using reference materials of known thermal properties before the test begins. During the test, the sample is heated at a controlled rate, typically 10°C/min. The heat flow between the sample and reference material is continuously monitored, recording the temperature at which significant changes in heat flow occur.
Interpretation of results involves identifying specific thermal events such as melting, crystallization, or glass transition temperatures. These points are critical for understanding the thermal stability and phase behavior of the materials used in lighting products. For example, knowing the exact melting point of a phosphor can help optimize its performance under various ambient conditions.
The results from ASTM D3418 testing provide valuable insights into how different lighting components will behave over time, aiding in product design and quality assurance. Compliance with standards like IEC 62555 ensures that products meet safety and performance requirements, enhancing consumer confidence.
Moreover, the test results can guide R&D efforts by highlighting areas where improvements are needed. For instance, if a material's glass transition temperature is lower than desired, it may indicate issues with its formulation or processing. Such information can be used to refine manufacturing processes and enhance product reliability.
Applied Standards
The ASTM D3418 standard method for differential scanning calorimetry is widely recognized in the industry and is applicable across various sectors including lighting. It aligns with international standards such as ISO/IEC 17025, which govern the competence of testing and calibration laboratories.
The use of ASTM D3418 ensures that all thermal tests are conducted under controlled conditions, providing consistent and reliable results. This is particularly important for compliance officers who need to ensure their products meet regulatory requirements.
For R&D engineers, the standard provides a robust framework for exploring new materials and processes in lighting technology. By adhering to ASTM D3418, they can compare their findings with industry benchmarks, facilitating innovation and improvement.
Scope and Methodology
The scope of ASTM D3418 is broad enough to cover a wide range of materials used in lighting applications. It encompasses various types of phosphors, encapsulants, and other components that are crucial for the performance and efficiency of lighting products.
The methodology involves several key steps: sample preparation, instrument calibration, data collection, and analysis. Sample preparation ensures uniformity across all specimens, while calibration ensures accurate measurement of heat flow differences. Data collection is performed at a controlled heating rate, typically 10°C/min, to capture the thermal events accurately.
Analysis focuses on identifying specific points such as melting temperatures, crystallization temperatures, and glass transition temperatures. These points are critical for understanding the material's thermal behavior under typical operating conditions. For instance, the melting temperature of a phosphor can influence its performance in high-intensity lighting applications.
Competitive Advantage and Market Impact
Adopting ASTM D3418 differential scanning calorimetry thermal testing provides several competitive advantages. It ensures that products meet stringent international standards, enhancing consumer trust and satisfaction. Compliance with IEC 62555 and EN 62706 can differentiate a product in the market, making it more attractive to buyers.
R&D teams benefit from this testing as they gain deeper insights into material behavior under various conditions. This knowledge can be used to improve product design and enhance performance. For quality managers and compliance officers, ASTM D3418 ensures consistent quality across production batches, reducing the risk of non-compliance issues.
The ability to predict and optimize material properties using this testing method can lead to significant cost savings in the long run by minimizing waste and rework. Additionally, it supports sustainable practices by ensuring that materials are used efficiently without compromising performance or safety.


